
Initial Visual Assessment of Step Construction
From How to Keep Outdoor Stairs Safe in Ice and Snow · Step 1 of 5 · Video by VideoJoeKnows
Showing 0:00–0:17 of the source video. Watch the full video with every moment.
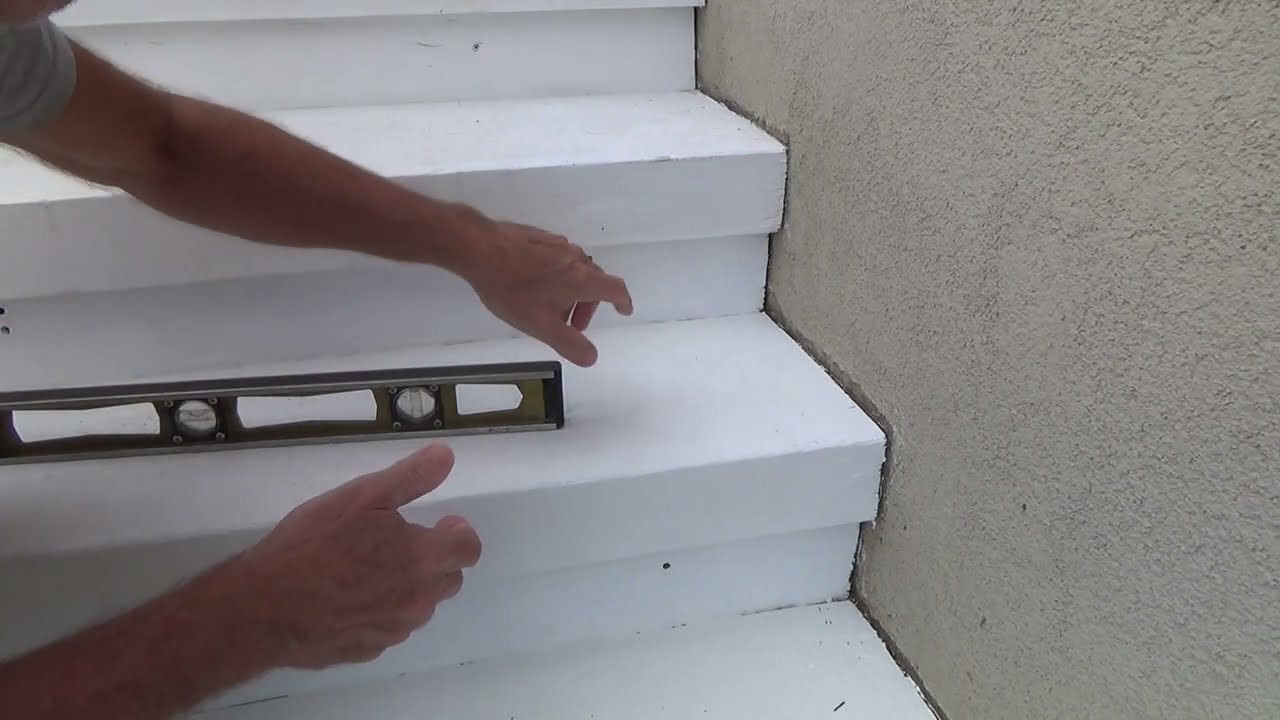
What happens in this clip
Begin by observing the general construction of the deck steps. Pay close attention to whether the steps are 'boxed in' or open underneath. Lack of airflow in boxed-in designs can trap moisture, leading to deterioration. Inspect the material for signs of existing damage such as rot, mildew, or mold, which often manifest as discolored patches or softened wood.
About the full video
This video provides a detailed visual inspection of deck steps, highlighting critical structural and water drainage issues. The primary focus is on identifying improper sloping of stair treads, which can lead to moisture accumulation, wood rot, mold, and mildew. The inspector demonstrates how to use a level to detect these problems and discusses a planned repair strategy involving plastic shims and water putty to correct the slope and ensure proper drainage, thereby improving the longevity and safety of the deck stairs.
Step 1 of 5: Inspect Existing Stairs
Before applying any safety measures, conduct a detailed inspection of your outdoor stairs. Check for structural integrity, ensuring no boards are rotten or loose. Examine railings to confirm they are securely attached and sturdy enough to provide support. Look for any areas on the treads that are significantly worn or damaged, as these can become hazardous when slippery. Also, check for proper drainage to prevent water from pooling and freezing on the steps.
Every video in How to Keep Outdoor Stairs Safe in Ice and Snow
Step 1: Inspect Existing Stairs
- 0:00–0:15 Observe Existing Outdoor Stairs
- 0:15–0:26 Evaluate Stair Safety
- 0:00–0:17 Initial Visual Assessment of Step Construction (this video)
Step 2: Clean Stair Surfaces
- 0:19–0:32 Clean Outdoor Wooden Surfaces
- 1:12–1:14 Clean and Dry Steps
- 1:13–1:37 Prepare the Surface
Step 3: Apply Anti-Slip Treads
- 0:02–0:06 Apply Anti-Slip Strip
- 0:51–4:06 Apply Adhesive-Backed Anti-Slip Products
- 0:09–0:15 Understand Anti-Slip Product Options
Step 4: Install or Reinforce Railings
- 0:24–0:42 Check Railing Height
- 2:39–3:22 Check Railing Stability
- 4:56–5:38 Attach Handrail
Step 5: Implement Snow and Ice Melting Solutions
- 0:03–0:07 Apply De-Icing Salt to Surfaces
- 0:07–0:20 Prepare Ice Melt and Traction Materials
- 0:35–1:06 Ensure Snow and Ice Removal Readiness
How to Keep Outdoor Stairs Safe in Ice and Snow
Develop a comprehensive plan to ensure outdoor stairs remain safe and accessible during icy and snowy conditions.
Read the full guide Browse all guides
Planning this project? Shop Oak Valley Designs.

Subscribe for exclusive updates
Be the first to know about promotions, new products, and sales.