
Cutting Handrail Sections
From How to Add a Second Handrail to Stairs for Seniors · Step 2 of 5 · Video by Ideals Woods
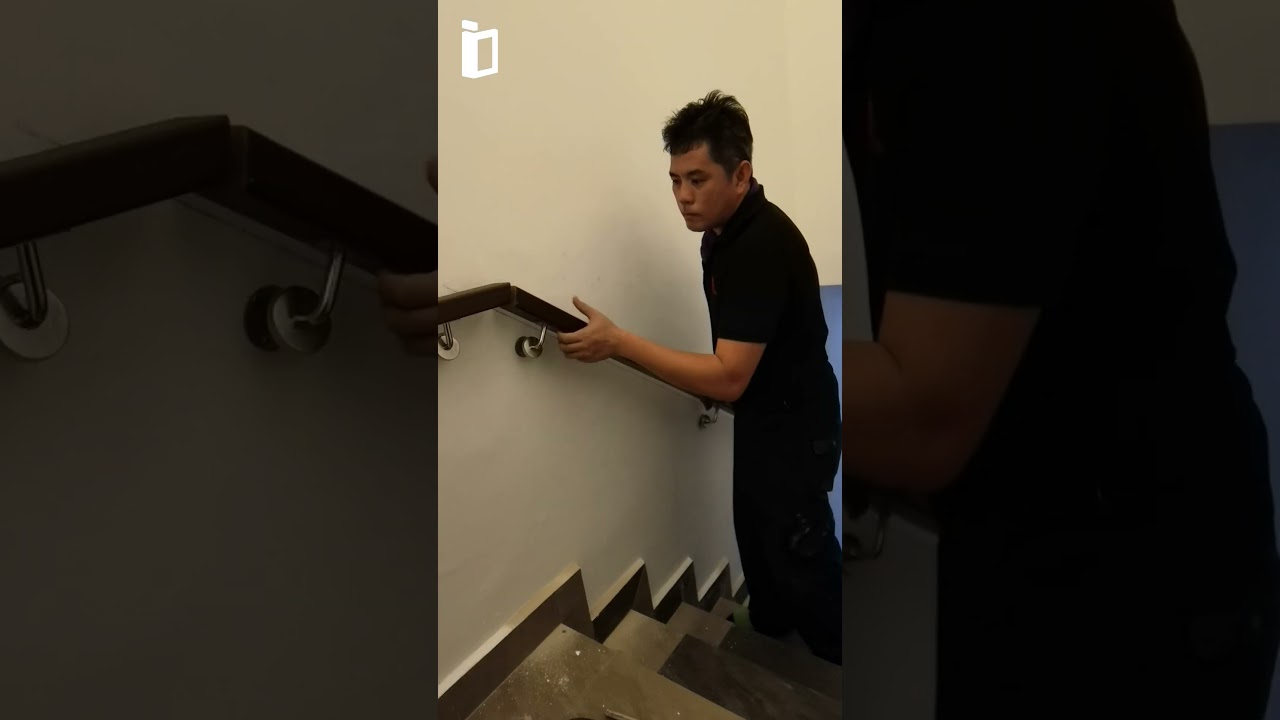
Showing 0:11–0:13 of the source video. Watch the full video with every moment.
What happens in this clip
Measure and cut the wooden handrail material into appropriate lengths and angles using a miter saw. This will include straight sections and angled pieces for corners or transitions. Precision in cutting is crucial for tight, seamless joints.
Goal: Prepare handrail pieces to fit the staircase
What's used
Tools
- Measuring Tape
- Miter Saw Milwaukee
- Hand saw with miter box
Materials
- Wooden Handrail Material
- Composite material
About the full video
This project details the installation of a wall-mounted wooden handrail along a staircase. The process involves accurately marking the handrail's path, drilling and securing mounting brackets to the wall, precisely cutting and joining wooden handrail sections, and finally, attaching the handrail to the brackets. The finishing touches include filling any gaps in the wood joints and sealing the edges where the handrail meets the wall for a clean, professional appearance.
Step 2 of 5: Select and Cut Handrail Material
Select a handrail material that complements the existing decor and is comfortable to grip. Common choices include hardwood (oak, maple), metal (brushed nickel, wrought iron), or PVC. Measure the total length of the staircase run where the handrail will be installed. Cut the chosen material to this exact length using an appropriate saw (e.g., miter saw for wood, hacksaw for metal). Ensure cuts are clean and square.
Every video in How to Add a Second Handrail to Stairs for Seniors
Step 1: Determine Handrail Height and Placement
- 0:23–0:47 Plan Placement and Mark Handrail Height
- 0:13–1:16 Measure and Mark Handrail Height
- 0:40–1:07 Measure Handrail Height
Step 2: Select and Cut Handrail Material
- 0:11–0:13 Cutting Handrail Sections (this video)
- 2:44–3:05 Cut and Fit Handrail
- 0:00–0:43 Measure and Cut Handrail
Step 3: Install Handrail Brackets
- 1:25–2:44 Install Handrail Brackets (Wood Studs)
- 1:13–1:22 Install End Rail Brackets
- 2:28–2:44 Install Brackets and Mount Handrail
Step 4: Attach Handrail to Brackets
- 1:22–1:36 Mount the Handrail to Brackets
- 0:35–0:46 Secure Handrail to Brackets
- 3:35–3:56 Mount Handrail to Brackets
Step 5: Test for Stability and Safety
- 5:36–5:45 Final Check
- 0:46–0:52 Verify Installation
- 4:24–5:10 Final Handrail Installation and Stability Check
How to Add a Second Handrail to Stairs for Seniors
This project involves adding a second handrail to existing stairs to improve safety and accessibility, particularly for seniors. The process includes planning the placement, selecting appropriate materials, and securely mounting the new handrail to the wall or stair structure.
Read the full guide Browse all guides
Planning this project? Shop Oak Valley Designs.

Subscribe for exclusive updates
Be the first to know about promotions, new products, and sales.