
← Guide
Stair Tread Replacement
Step 2 of 5
Clip 1/3
Helpful?
Step 2 · Step 2: Prep and Clean the Stair Stringers
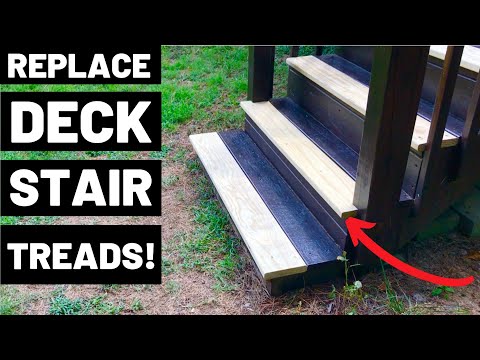
Take a moment to inspect the stair stringers. Remove any leftover hardware, splinters, or old adhesive residue. A stiff brush and a scraper are perfect for this job. The goal is a clean, smooth, and level surface. This simple prep work is key to ensuring your new treads sit flush and are properly supported for long-lasting safety.
Tips and Tricks
(1)
1
A putty knife or a paint scraper can be helpful for removing stubborn adhesive.
A putty knife or a paint scraper can be helpful for removing stubborn adhesive.

Subscribe for exclusive updates
Be the first to know about promotions, new products, and sales.