
← Guide
installing carpet stair treads
Step 2 of 2
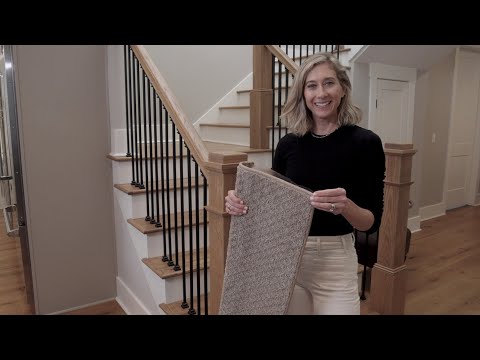
Step 2 · Step 2: Place and Press for a Secure Fit
Apply even pressure with your hands, starting from the center and moving outwards to the edges. This ensures the adhesive makes full contact with the wood, giving you the peace of mind that comes with a non-slip, secure footing. This is how safety meets style, right in your home.
Tools and Materials
 Classic Sisal (Set of 14)
Take your time to ensure precise alignment before pressing down, as the adhesive is strong.
Take your time to ensure precise alignment before pressing down, as the adhesive is strong.
Apply firm, even pressure across the entire surface of the tread to ensure it adheres completely.
Apply firm, even pressure across the entire surface of the tread to ensure it adheres completely.
You've reached the last step
Nice work — share this guide or find your next project.

Subscribe for exclusive updates
Be the first to know about promotions, new products, and sales.