
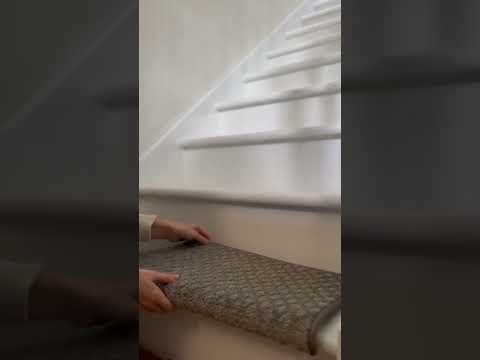
Step 2 · Align and Press Firmly in Place
Starting from one edge, smooth the tread onto the stair, applying firm, even pressure. Pay special attention to the edges and the nose of the stair to ensure a secure bond. That's it! No nails, no glue, no stress—just a beautiful, safer staircase.
Tools and Materials
 Classic Sisal (Set of 14)
Carefully align the tread before pressing down to ensure a neat appearance and proper fit.
Carefully align the tread before pressing down to ensure a neat appearance and proper fit.
Apply firm, even pressure across the entire surface of the tread to ensure the adhesive bonds securely.
Apply firm, even pressure across the entire surface of the tread to ensure the adhesive bonds securely.
You've reached the last step
Nice work — share this guide or find your next project.

Subscribe for exclusive updates
Be the first to know about promotions, new products, and sales.