Thinking about adding a spiral staircase to your home? They're stunning centerpieces—but install it wrong, and you may be left with a noisy, wobbly, or even unsafe mess. This spiral staircase installation guide shows you exactly how to get it right the first time.
From smart prep tips to step-by-step instructions and finishing touches like carpet stair treads, this guide covers it all. You’ll also learn how to avoid common DIY mistakes and protect your family with slip-resistant options that don’t sacrifice style. By the end, you’ll feel confident, informed, and ready to install your new staircase safely and beautifully.
What to Know Before Installing a Spiral Staircase
Before you start unboxing anything, stop and measure—twice. Spiral staircases require more than just vertical clearance. Here's what you need to check first:
1. Space and Clearance Requirements
-
Height: Measure floor-to-floor, not floor-to-ceiling.
-
Diameter: Standard spiral staircases are 5 feet wide, but tight spaces may need 3'6" or 4' designs.
-
Headroom: You’ll need at least 6'6" of headroom per building code. (International Residential Code R311.7.10.1).
These measurements impact your staircase’s layout and step count. Skipping this step may mean you order a kit that simply doesn’t fit. For detailed standards, see the International Residential Code R311.7 or consult your local building office.
2. Check Local Building Codes
Every state and county has slightly different rules on:
-
Railing height
-
Riser spacing
-
Tread depth
-
Stair diameter
Always check code requirements before you purchase or install. Many areas require your spiral staircase to be inspected upon completion.
Choosing Materials That Work For Your Space
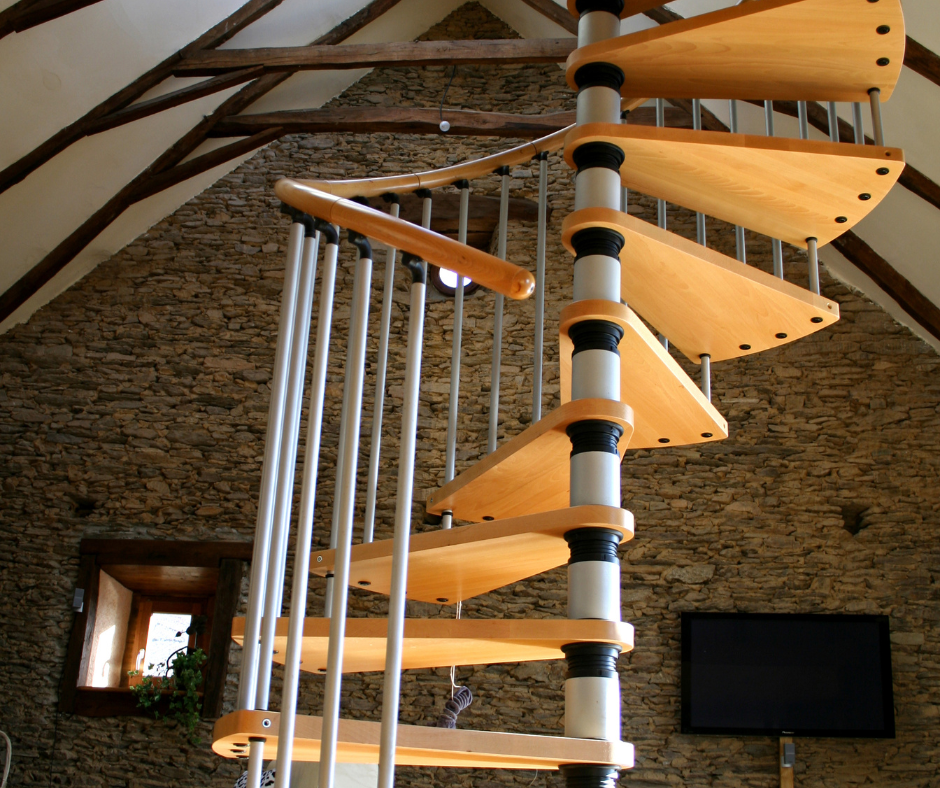
When homeowners picture spiral stairs, they often imagine sleek metal twists or rustic wooden spirals. The material you choose isn’t just about looks—it affects comfort, safety, and noise.
Metal vs. Wood
-
Metal is sleek and modern but can feel cold underfoot.
-
Wooden spiral staircases offer warmth and charm, making them ideal for cozy interiors. They're also quieter and safer to walk on barefoot or in socks.
If you’ve got pets or kids, wooden treads are often a better bet for traction and feel.
Step-by-Step Breakdown
Here’s a simplified process of what a typical DIY-friendly spiral staircase installation might look like.
1. Prep and Layout
-
Mark out the exact center post location.
-
Confirm that the opening in the upper floor matches your staircase diameter.
2. Install the Center Column
This acts as the spine of the staircase. Bolt it securely into the subfloor and ceiling mount.
3. Attach Treads and Spacers
-
Slide the treads onto the center column.
-
Use spacers to set equal riser heights.
-
Rotate each tread to create the spiral pattern.
4. Secure Railings
-
Start from the bottom.
-
Make sure the handrail lines up with every tread’s outer edge.
-
Screw the balusters and rail securely to avoid wobble.
5. Double-Check for Level and Safety
Before using your new staircase, walk it slowly. Tighten any screws and make sure nothing shifts under pressure.
Add Safety to Prevent Slips Without Sacrificing Style
Spiral stairs are notoriously narrow. Combine that with socks or pet paws, and you’ve got a recipe for slips. That’s where non-slip stair treads for spiral staircases come in handy.
Best Options for Grip:
-
Carpet stair treads that adhere directly to each step (no nails or staples needed)
-
Low-pile materials that don’t trip feet
-
Custom-cut pieces that follow the curve of each step
At Oak Valley Designs, our non-slip treads fit wooden spiral staircases like a charm—safe, stylish, and easy to clean. And best of all, they install without damaging your wood surface.
Common Mistakes to Avoid
Even handy homeowners fall into these traps:
Ignoring Floor Level Changes
If your bottom or top landing is uneven, your last step may be awkward—and dangerous.
Overlooking Kid & Pet Safety
Those open sides may need additional railing or padded treads to keep little feet secure.
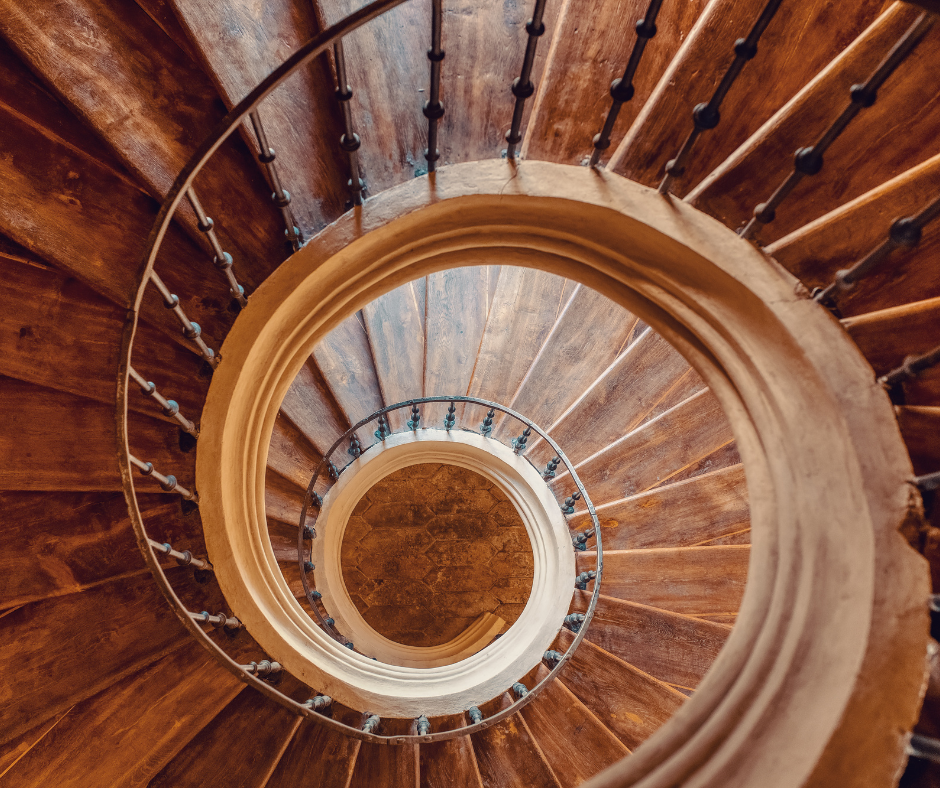
Choosing the Wrong Direction
Clockwise or counterclockwise? Make sure your layout flows with your home’s traffic pattern.
Skipping Adhesion or Anti-Slip Layers
Bare steps are pretty…until someone slips. Prioritize safety, especially in socks or pet claws.
DIY vs. Professional Installation
DIY:
-
Good for basic kits
-
Requires two people
-
May take 1–2 days
Pro Install:
-
Best for custom or large-diameter models
-
Comes with code compliance checks
-
Ideal if you're adding railing to an existing loft or platform
How to Style a Spiral Staircase
Spiral stairs are already architectural features—but there’s still room for a touch of personal flair:
-
Add a hallway runner nearby to tie the space together.
-
Use matching landing pads for a cohesive finish.
-
Choose custom stair treads that bring warmth and softness underfoot.
Steps To Success
Oak Valley Designs believes your stairs should be safe, stylish, and simple to install. If you’re adding a spiral staircase, it may just become the highlight of your home—with the right prep, the right products, and a little Southern wisdom.
Make Your Spiral Staircase Safer
Add grip, warmth, and peace of mind to every step with custom-fit, non-slip stair treads designed for spiral stairs. No tools. No damage. Just peel, stick, and enjoy.
-
Website: https://oakvalleydesigns.com/
-
Phone: (706) 331-0315
-
Email: info@oakvalleydesigns.com
-
Address: 30 River Ct SW Bldg E, Cartersville, GA 30120