Thinking of tackling a stair upgrade that’s equal parts practical and polished? Here’s how to build L-shaped stairs for your home: start by measuring the rise and run, build a landing or winder, and connect two stair flights at a 90-degree turn. This guide walks you through every step with clear instructions so you can build confidently and meet safety standards.
You'll also learn where L-shaped stairs fit best, how to avoid common mistakes, and how to choose the right finish. Using carpet stair treads adds both safety and style, especially on the turn or landing. Keep reading to get expert-backed tips, design ideas, and material breakdowns that make the job easier.
What Is an L-Shaped (Quarter-Turn) Staircase?
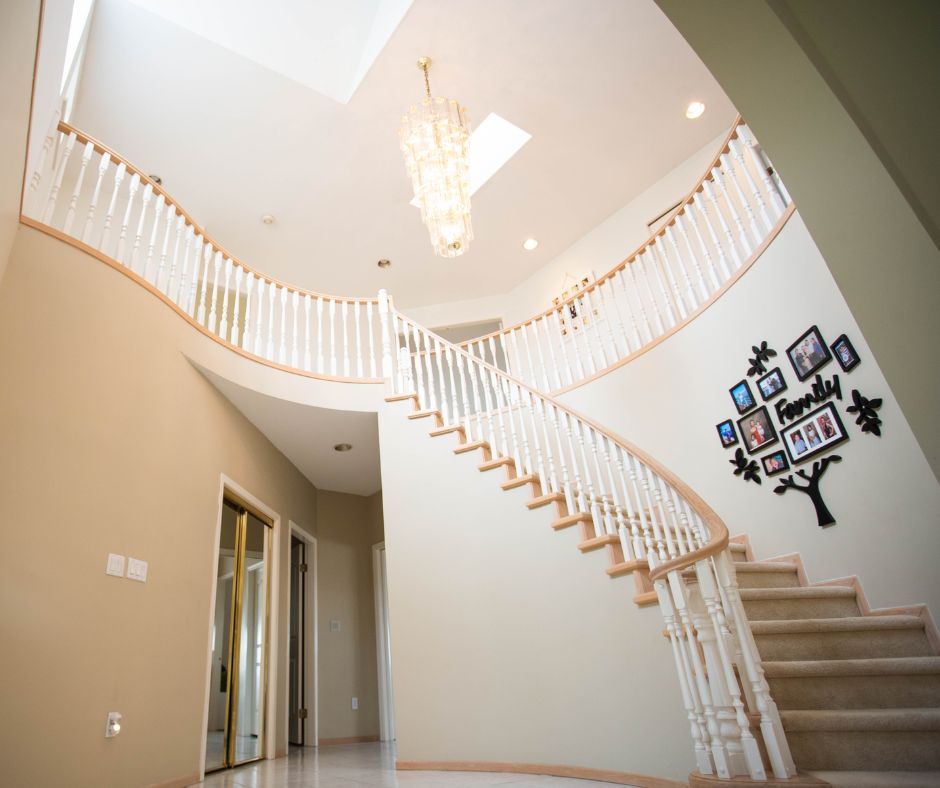
An L-shaped staircase is made of two straight flights that connect at a right angle. The turn is typically done with either a flat platform (landing) or wedge-shaped steps (called winders). These stairs are especially helpful where a straight staircase just won’t fit—or where a visual break between floors adds to the home's design.
Tools and Materials You’ll Need
Before building, gather your materials and tools. You’ll need:
-
Measuring tape
-
Circular saw
-
Framing square
-
Level
-
Hammer or drill
-
Screws or nails
-
2x12 lumber for stringers
-
2x6 or 2x12 for treads
-
Plywood for risers
-
Personal safety gear
Step-by-Step Instructions for Building L-Shaped Stairs
1. Measure Total Rise and Run
The total rise is the vertical distance from one floor to the next. The total run is the horizontal distance the stairs will cover. This determines how steep your stairs will be.
2. Calculate Number of Steps
Divide the total rise by 7" (or your local riser code) to get the number of steps. Make sure each step is equal for safety.
3. Plan the Turn
Decide where the turn will go. This could be halfway up, two-thirds, or wherever your space allows. You’ll need to frame either a flat landing or install winder steps.
4. Cut the Stringers
Use your framing square to mark each rise and run on the stringers. Then cut carefully with your saw. You’ll need a separate stringer for each flight.
5. Build the Landing
Use framing lumber and plywood to build the platform. It must be square and level. Anchor it to both the floor and surrounding wall studs.
6. Install Stringers
Secure the lower stringers to the floor and landing platform. Attach the upper stringers from the landing to the top floor.
7. Install Risers and Treads
Nail or screw in the risers first. Then add the treads, double-checking levelness and stability as you go.
8. Add Railings and Balusters
Install handrails, posts, and balusters following code. For open sides, safety is critical.
Where Should You Put an L-Shaped Staircase?
L-shaped stairs are ideal for:
-
Corners of open spaces
-
Small floor plans where straight stairs would be too long
-
Entryways with angled layouts
-
Basements or attics where a space-saving turn is needed
Make sure to account for load-bearing walls and clearance below the landing. Many homeowners repurpose the space under the landing for storage, a reading nook, or even a dog kennel.
Winder Stairs or Landings: Which One Works Best
Both options work for turning a staircase. Here's how they differ:
Landing Platform
-
Easier to build
-
Safer for children and seniors
-
Offers a natural resting spot
Winder Steps
-
Takes up less space
-
Harder to build
-
More complex to walk on safely
If comfort and safety are your priorities, go with a landing. If you're tight on space and experienced with DIY, winders may work.
Building Code Basics (Don’t Skip This)
Your local building codes may vary slightly, but most follow these rules:
-
Riser height: max 7.75 inches
-
Tread depth: min 10 inches
-
Stair width: min 36 inches
-
Headroom: at least 80 inches
Always check with your building inspector before beginning a project. Failing to meet code could lead to safety issues—or having to rebuild later.
Common Mistakes to Avoid
Don’t let your DIY dream turn into a disaster. Avoid these mistakes:
-
Skipping dry-fit tests for stringers
-
Ignoring headroom clearance on the turn
-
Making the landing too narrow
-
Using inconsistent rise/run ratios
-
Forgetting about railing codes or bracing
Double-check every measurement and don't rush the planning phase.
Can You Retrofit Your Existing Stairs?
In some cases, yes. If you have a straight staircase and want to add a turn, you’ll need to check for:
-
Space availability
-
Whether a landing or winders will fit
-
Framing and wall changes
-
Load-bearing considerations
You may need a structural engineer if converting a stair that’s already in place.
Cost Breakdown for DIY vs Professional Installation
Here’s a rough idea of what to expect for a DIY build:
-
Lumber and supplies: $400–$1,200
-
Tools (if not already owned): $200–$400
-
Extras like rails, paint, or treads: $150–$500
Hiring a contractor? Expect to pay $2,500–$6,000+ depending on complexity and materials.
Interior Design Tips for L-Shaped Stairs
After your staircase is built, it’s time to make it feel like part of your home. Some ideas:
-
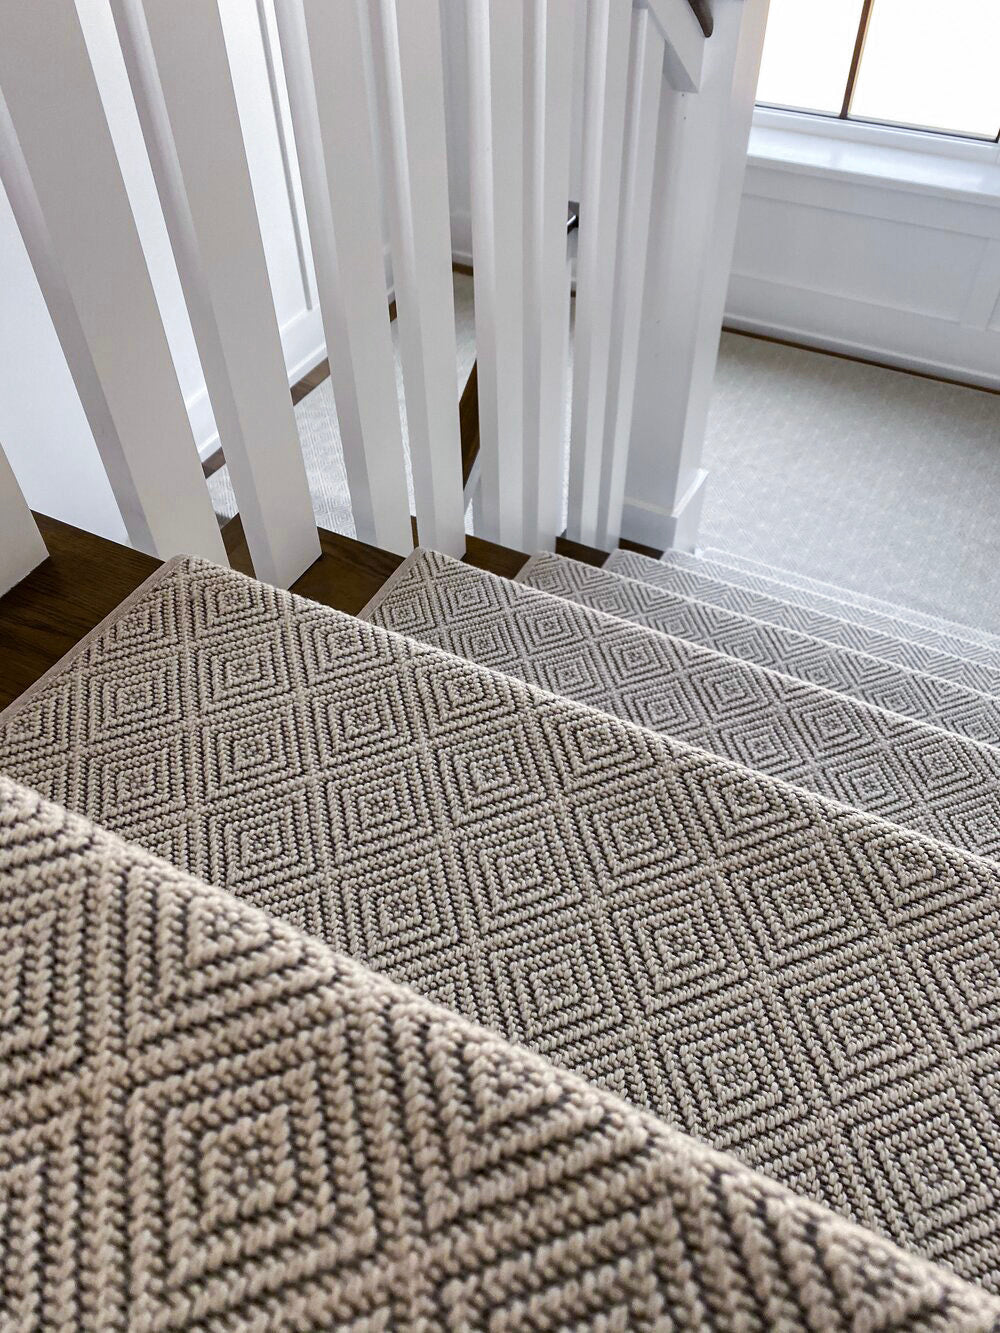
Use neutral stair treads for comfort and safety
-
Paint the risers and stain the treads for contrast
-
Add wall sconces or under-tread lighting
-
Install a gallery wall on the landing
-
Consider Oak Valley Designs' swatch program to test looks before committing
Why Choose an L-Shaped Staircase?
Compared to straight, spiral, or U-shaped stairs:
-
They look custom
-
Feel safer with a landing to break the fall
-
Fit into corners or tighter layouts
-
Offer creative design options at the turn
If your goal is safety, style, and space savings—L-shaped is the smart choice.
Oak Valley Stair Treads: A Smart Finish
Once your staircase is complete, Oak Valley Designs stair treads add polish and function. Here's why homeowners love them:
-
Easy to apply with peel-and-stick backs
-
No nails or staples
-
Soft underfoot, yet durable
-
Kid and pet-friendly
-
Custom sizes and patterns available
They’re ideal for staircases like yours—especially if you want a luxury feel without paying a contractor.
Steps to Success
Building L-shaped stairs is a smart upgrade that improves your home’s safety, layout, and appearance. With proper planning and the right finishings—like Oak Valley Designs stair treads—you’ll end up with a staircase that doesn’t just connect floors. It brings your home together.
Add the Perfect Finish to Your L-Shaped Stair Project
You’ve planned and built your staircase—now it’s time to make it shine. Oak Valley Designs offers handcrafted, made-in-the-USA stair treads that are easy to install, safe for your family, and stylish enough to show off.
Whether you're adding a landing or finishing a full L-shaped build, our DIY-friendly treads provide the comfort and confidence your home deserves.
-
Website: https://oakvalleydesigns.com/
-
Phone: 706.331.0315
-
Email: info@oakvalleydesigns.com
-
Address: 30 River Ct SW Bldg E Cartersville, Ga 30120