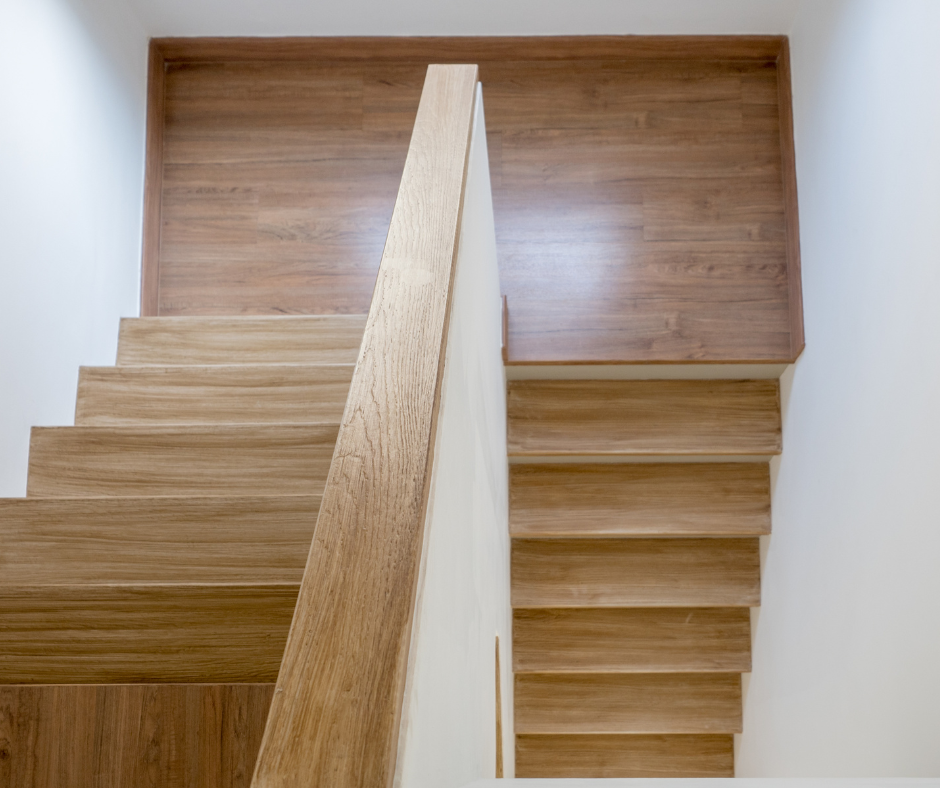
Upgrading your staircase with laminate flooring can enhance both style and durability.
Knowing how to install laminate flooring on stairs with overhang starts with removing or leveling the overhang, securing laminate planks with adhesive, and finishing with stair nosing for a polished look.
Proper preparation ensures a seamless fit, preventing gaps and instability over time.
By following these steps, you’ll create a staircase that is both safe and visually appealing.
Whether transitioning from carpet stair treads or upgrading old wood, laminate offers a modern, low-maintenance alternative.
Continue reading for expert guidance on each phase, from preparation to final installation.
Why Removing the Stair Tread Overhang Matters
When learning how to install laminate flooring on stairs with overhang, one of the most crucial steps is deciding what to do with the existing stair treads overhang.
Overhangs are common in staircases designed for carpet, as they help hold the material in place.
However, laminate flooring requires a flat surface for stability.
If the overhang remains, the laminate planks won’t sit flush against the stair, leading to gaps or shifting over time.
Some homeowners choose to keep the stair tread overhang for carpet if they plan on switching back to carpet in the future.
However, for a clean, finished look with laminate, it’s best to square off the overhang.
Tools and Materials Needed
Before you start the project, gather the essential tools and materials to ensure a smooth installation process.
Tools
-
Circular saw or jigsaw
-
Measuring tape
-
Level
-
High-strength adhesive
-
Clamps
-
Fine-tooth blade for precise cutting
-
Drill and screws for securing stair nosing
-
Sandpaper for smoothing cut edges
Materials
-
Laminate flooring planks
-
Stair nosing that matches your laminate
-
Plywood (if leveling the overhang)
-
Wood filler for finishing screw holes
Step-by-Step Guide to Installing Laminate Flooring on Stairs
A structured approach makes laminate installation easier and more effective.
Follow these steps to achieve a secure, polished, and long-lasting staircase.
1. Preparing the Stairs
Start by removing any existing carpet, nails, or adhesive residue.
If your stairs were carpeted, you’ll likely notice a stair tread overhang for carpet.
Remove all staples and make sure the surface is smooth.
Once the stairs are clear, check that each step is level.
Uneven stairs can affect the placement of laminate planks, leading to gaps or loose boards.
2. Removing or Leveling the Stair Treads Overhang
There are two methods to handle stair tread overhang when installing laminate flooring.
-
Cutting Off the Overhang: Use a jigsaw or circular saw to remove the overhang, making the step flush with the riser below. After cutting, sand down the edges to create a smooth surface.
-
Adding Plywood to Level the Overhang: If cutting isn't an option, attach plywood over each step to level the overhang. Secure the plywood with nails or adhesive to create a stable, even surface.
Both methods ensure a squared-off edge, allowing the laminate planks to lay flat.
3. Measuring and Cutting the Laminate
Each stair tread and riser requires precise measurements to achieve a snug fit.
Use a measuring tape to record the exact width and depth of each stair.
To simplify the process, create a cardboard template for the tread and riser.
This ensures that your laminate planks match the exact dimensions of each step.
Cutting Tips:
-
Use a fine-tooth circular saw for smooth edges.
-
Leave a 1/4-inch expansion gap along the edges to accommodate temperature changes.
-
If working with angled stairs, a miter saw helps create accurate cuts.
4. Installing Laminate on Stair Treads and Risers
Once the planks are cut, start installing them from the bottom step and work your way up.
-
Apply a high-strength adhesive to the back of each plank before pressing it firmly onto the stair tread.
-
Hold the plank in place for a few minutes to ensure strong adhesion.
-
Install the riser (the vertical part of the step) using the same adhesive for a seamless appearance.
For extra durability, you can use a few finishing nails along the edges, but adhesive alone is often enough for a strong hold.
5. Adding Stair Nosing for a Finished Look
Stair nosing is essential for securing the edges of each step and providing additional safety.
It creates a slight overhang that helps protect the laminate from chipping or lifting over time.
To install stair nosing:
-
Apply adhesive to the back of the nosing and press it firmly along the tread’s edge.
-
For extra reinforcement, use a drill and screws to secure the nosing.
-
Fill any screw holes with wood filler for a polished finish.
The stair nosing enhances grip while adding a professional touch to the staircase.
Additional Considerations When Installing Laminate on Stairs
Installing laminate on stairs requires more than just laying planks.
Proper preparation and material selection ensure durability and a professional finish.
Choosing the Right Stair Nosing
Stair nosing comes in various styles, including flush and overlapping designs.
Flush nosing aligns perfectly with the laminate plank, creating a smooth transition.
Overlapping nosing slightly extends over the tread for added protection.
Select a nosing style that complements your laminate flooring while providing a secure grip.
Ensuring Durability
Laminate stairs experience more foot traffic than standard flooring, so durability is key.
Using high-quality adhesive and securing stair nosing with screws helps prevent shifting over time.
Avoid placing heavy furniture or dragging items up and down the stairs until the adhesive has fully cured.
Frequently Asked Questions
Can I Install Laminate Flooring on Stairs Without Removing the Overhang?
It’s possible, but not recommended.
Keeping the overhang can cause laminate planks to sit unevenly, leading to potential safety hazards.
Squaring off the overhang ensures a stable and polished finish.
Do I Need Underlayment for Laminate Flooring on Stairs?
Unlike standard laminate flooring, stairs do not require underlayment.
The planks should be directly adhered to the stair surface for maximum stability.
How Do I Maintain Laminate Stairs?
To extend the lifespan of laminate stairs:
-
Use a microfiber mop for cleaning instead of excessive water.
-
Place non-slip pads under stair treads for added safety.
-
Avoid dragging heavy objects over the steps.
Stepping It Up
Installing laminate flooring on stairs with overhang requires careful preparation to ensure a secure and professional finish.
Removing or leveling the overhang allows the laminate planks to sit flush, preventing gaps and instability.
With proper adhesive application and the addition of stair nosing, you can achieve a durable and stylish staircase upgrade.
By following the correct steps, you can transform your stairs with a sleek, modern look that enhances both safety and aesthetics.
Learning how to install laminate flooring on stairs with overhang ensures a long-lasting result that withstands daily wear.
Take the time to measure accurately, use quality materials, and follow best practices for a flawless installation.
Contact Oak Valley Designs Today
If you’re looking for high-quality stair treads to complement your new laminate stairs, Oak Valley Designs offers premium solutions designed for safety, style, and durability.
-
Website: https://oakvalleydesigns.com/
-
Phone: 706.331.0315
-
Email: info@oakvalleydesigns.com
-
Address: 30 River Ct SW Bldg E Cartersville, Ga 30120


