Transforming your staircase into a safer, more stylish centerpiece is easier than you might think.
To answer your question clearly, how to install carpet runner on stairs with a landing involves measuring carefully, prepping each stair and landing surface, and securing the carpet stair treads and runner using staples and tackless strips.
This guide will walk you through the entire process so you can achieve a professional-looking, durable finish without hiring a contractor.
By learning how to install carpet runner on stairs with a landing yourself, you will save money, customize your home's design, and improve safety for your family.
You’ll also discover how choosing quality carpet stair treads can make a huge difference in comfort, longevity, and style.
Keep reading for step-by-step instructions, pro tips, and everything you need to complete this rewarding DIY project with confidence.
Why Install a Carpet Runner on Stairs with a Landing?
Installing a carpet runner is about more than just appearance.
A stair runner adds a layer of safety by preventing slips and falls.
It brings warmth and comfort underfoot, especially during colder months.
It can even dampen noise, creating a quieter, more peaceful home environment.
Choosing to add a DIY stair runner with landing allows you to customize your home’s look without the commitment of a full stair renovation.
A well-installed runner blends safety, comfort, and beauty into one seamless upgrade.
If you love DIY projects and are inspired by home makeover shows, this is a project that gives professional-looking results with a personal touch.
What Materials and Tools Do You Need?
Gathering the right supplies ahead of time ensures a smooth installation from start to finish.
Here’s what you’ll need:
-
Carpet runner
-
Carpet padding
-
Tackless strips
-
Staple gun and staples
-
Measuring tape
-
Utility knife
-
Double-sided carpet tape
-
Carpet tucker or putty knife
-
Carpet seam tape (for turns or angled landings)
-
Knee kicker (optional but helpful for stretching carpet evenly)
Each tool plays an important role in making sure your carpet runner is secure, aligned, and long-lasting.
How Do You Measure Stairs and a Landing?
Good measurements are the foundation for a polished finish.
Start by measuring the width of each stair tread.
Leave an even gap of a few inches on each side to create a framed look that feels both stylish and intentional.
Measure the depth of each tread and riser individually.
Tread depth is the horizontal part where you step.
Riser height is the vertical part between treads.
Add these measurements together for each step to calculate the total length of runner needed.
For the landing, carefully measure its width and length.
If the landing is at an angle or turns, break it down into sections and measure each part separately.
Make sure you account for every corner and curve.
A rug for stair landing needs to be accurately sized to create a seamless flow from stairs to landing and back to stairs.
Taking careful notes and double-checking measurements now will save you time and frustration during installation.
How to Choose the Right Carpet Runner and Padding
Choosing the right materials makes a huge difference in the final look and feel of your project.
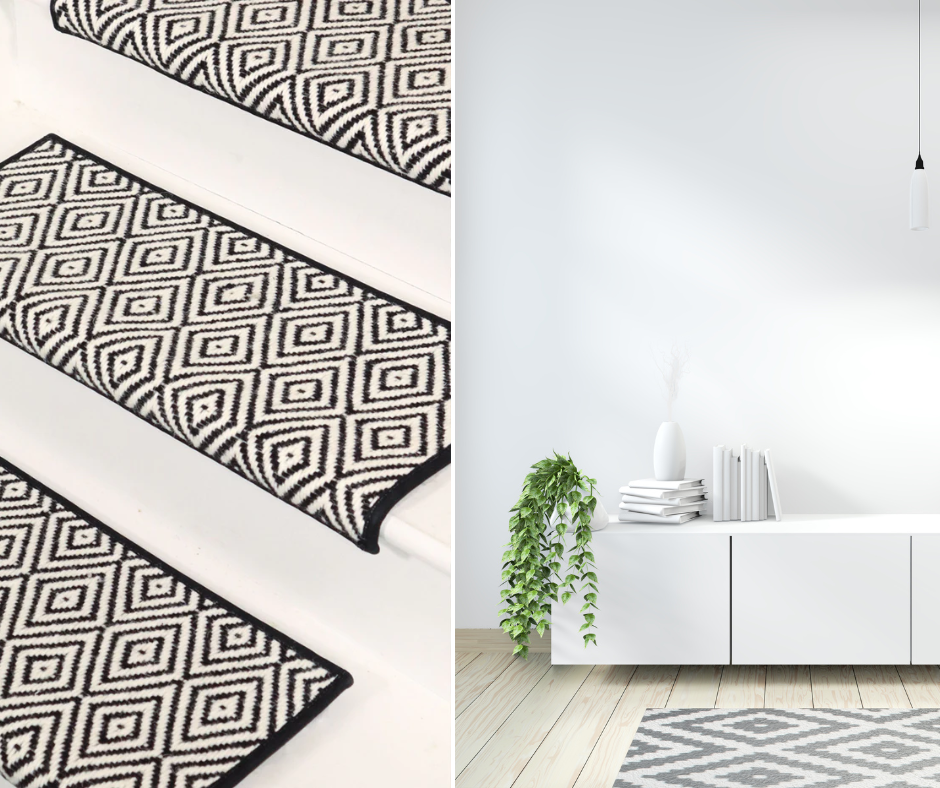
Look for a carpet runner that is durable yet soft underfoot.
Wool, nylon, and polypropylene are all excellent choices because they resist wear and are easy to clean.
Patterns can add visual interest but should align carefully at seams if your staircase has turns or landings.
A neutral solid color can make the project easier for beginners.
Padding should be firm enough to add comfort without being so thick that it creates lumps or bumps under the runner.
High-density felt or synthetic padding are excellent choices for stairs.
Having the right rug for stair landing ensures that both the landing and the stairs feel equally plush and coordinated.
Step-by-Step Guide to Installing a Carpet Runner on Stairs with a Landing
Installing a carpet runner on stairs with a landing is a straightforward project with the right plan.
Follow these simple steps to get a clean, polished result.
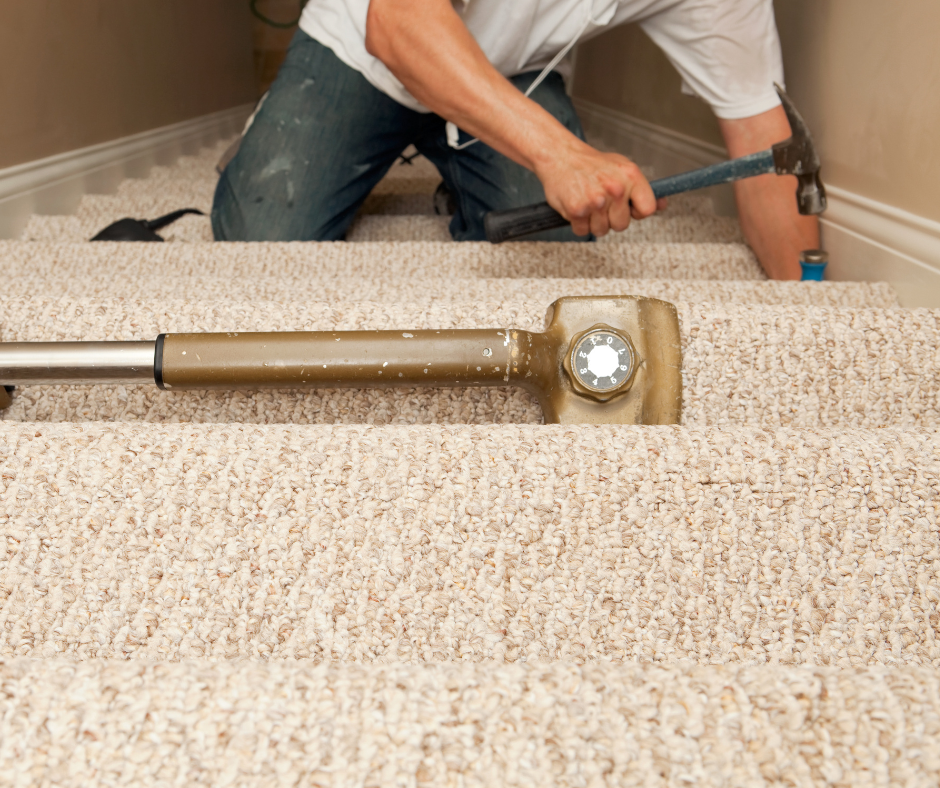
1. Prep the Stairs and Landing
Clean the stairs and landing thoroughly.
Remove any staples, nails, dust, or debris.
Sand any rough patches to create a smooth surface.
This ensures the carpet adheres properly and lies flat.
Cut the carpet padding to fit each stair tread.
Leave about an inch gap around the edges so the padding stays hidden under the runner.
Attach the padding with staples or double-sided carpet tape.
For the landing, cut padding to fit but avoid overlapping pieces to keep the surface level.
2. Attach Tackless Strips
Install tackless strips about half an inch from the back edge of each tread.
Make sure the pins on the strip face toward the riser.
On the landing, place tackless strips around the perimeter but leave enough room to tuck the carpet neatly.
Tackless strips grip the carpet and keep it stretched and secure.
Proper placement helps prevent shifting or sagging over time.
3. Center and Secure the Runner on the Landing
Begin your installation at the landing.
This sets the tone for how the rest of the carpet will lay down the stairs.
Center the carpet runner carefully.
Attach it using double-sided carpet tape for extra hold, and staple along the edges for durability.
Smooth the runner into place with a carpet tucker or putty knife.
Make sure there are no wrinkles or air pockets.
Starting at the landing ensures that your design is centered and balanced all the way up or down the staircase.
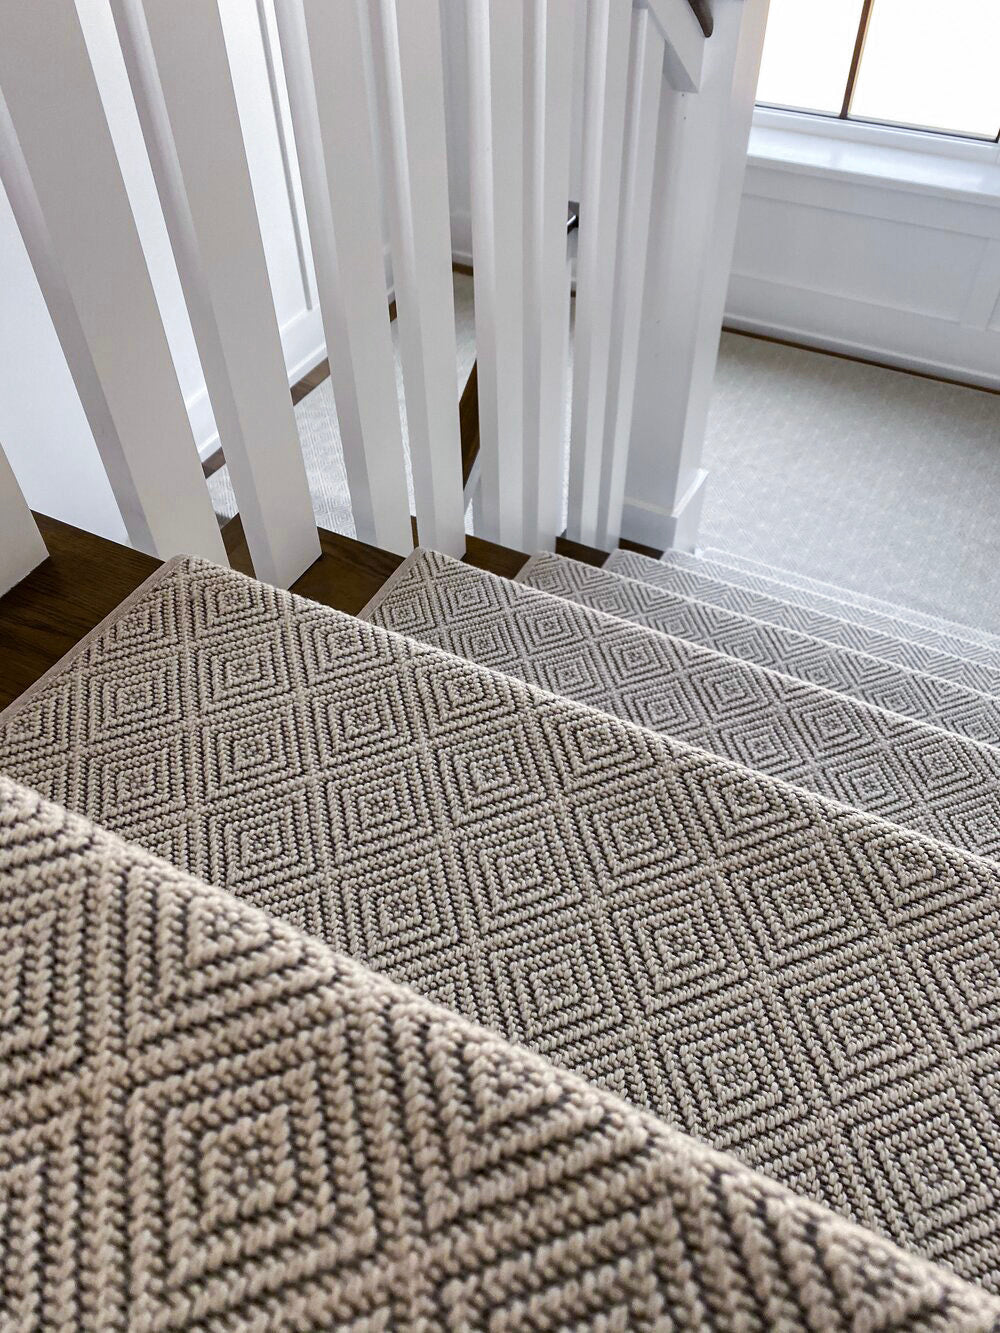
4. Install the Runner on the Stairs
Begin at the top of the staircase if your stairs ascend after the landing.
If the stairs descend from the landing, start just below it.
Staple the runner under the nose of the tread.
Pull the runner tight as you staple it into the crease where the tread meets the riser.
Continue down the staircase, making sure the runner stays centered.
Check alignment often.
Pull the runner taut as you go.
Use a knee kicker if you have one to ensure a tight, professional finish.
Each step should feel firm underfoot without ripples or looseness.
5. Handle Turns or Angled Landings
For stairs with a turn or angled landing, measure each new section carefully.
Cut the runner to fit using a sharp utility knife.
Use carpet seam tape underneath to bond pieces together if needed.
If your runner has a pattern, match it carefully at seams for a polished look.
Handling turns carefully ensures that your DIY stair runner with landing looks intentional, professional, and seamless from every angle.
How to Address Common Installation Challenges
Even the best-planned projects can run into bumps along the way.
Here are a few quick tips:
If the runner shifts while you staple, re-center it before securing too many staples.
If the runner stretches or wrinkles, pull it tighter using a carpet tucker or knee kicker.
If staples show too much, gently tug the carpet tighter or adjust your angle before stapling.
Taking your time with tricky areas, especially around landings, ensures a professional result you’ll be proud of.
How Do You Maintain a Carpet Runner?
Once your runner is installed, good maintenance keeps it looking beautiful.
Vacuum it regularly to remove dirt and grit that can wear down fibers.
Spot clean spills immediately to prevent stains.
Avoid using harsh chemicals that could damage the carpet or padding.
Schedule a professional deep cleaning every 6 to 12 months.
If you have pets or high foot traffic, consider a more frequent cleaning schedule.
Keeping your runner fresh ensures it remains a beautiful focal point for years to come.
How to Select the Perfect Rug for Stair Landing
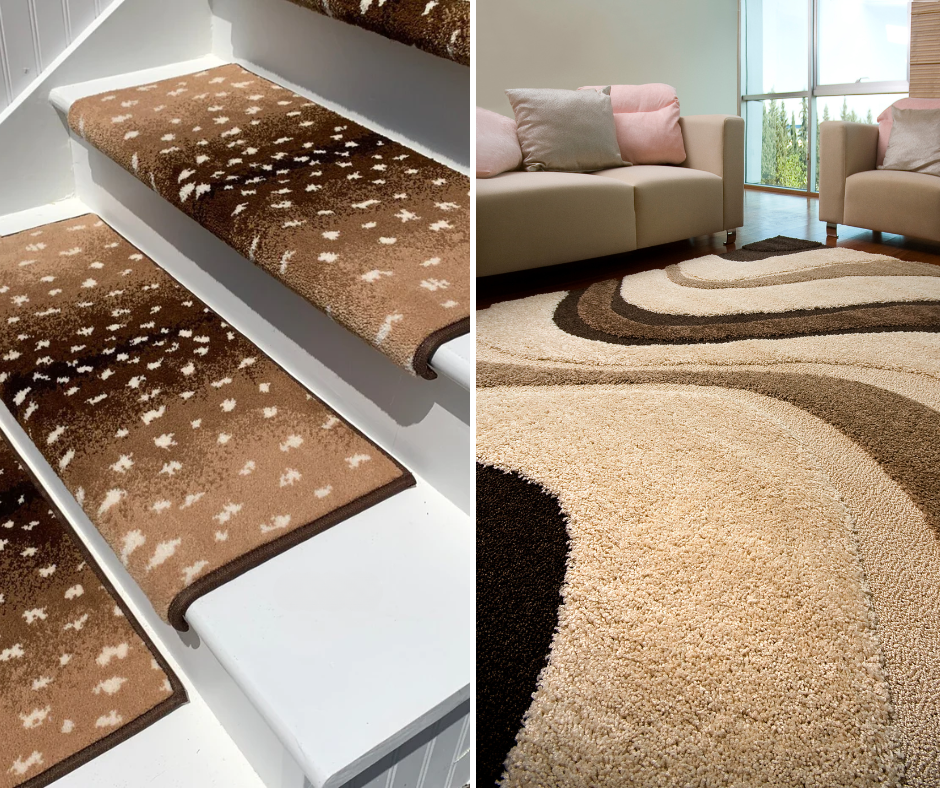
Choosing a rug for stair landing is about blending style, comfort, and function.
The landing acts as a visual bridge between stair sections.
Choose a rug material that complements the runner on the stairs.
It should be equally durable, easy to clean, and non-slip.
If you prefer a unified look, use the same material and color as the stair runner.
If you like contrast, consider a subtle pattern or complementary color that ties into nearby room decor.
Whichever style you pick, a well-fitted rug for stair landing enhances the overall elegance and safety of your staircase.
Benefits of DIY Stair Runner Projects
There are many advantages to tackling a DIY stair runner with landing.
First, it’s often more affordable than hiring a professional installer.
Second, it allows you to customize every aspect of the project, from material and color to placement and design.
Third, completing the project yourself adds a sense of pride every time you walk up or down your newly transformed staircase.
DIY projects can be incredibly satisfying, especially when they blend functionality, beauty, and personal achievement all in one.
Installing a stair runner with a landing is one of those special upgrades that makes your house feel even more like home.
Stepping It Up
Installing a DIY stair runner with landing is a rewarding project that combines style, safety, and comfort.
By measuring carefully, choosing the right materials, and following a thoughtful step-by-step approach, you can create a stunning staircase that welcomes family and friends alike.
Taking the time to invest in a beautiful runner — especially with a carefully chosen rug for stair landing — elevates your home’s design and functionality at once.
If you are ready to take your staircase to the next level, Oak Valley Designs is here to support you with crafted stair solutions made with love, care, and American craftsmanship.
-
Website: https://oakvalleydesigns.com/
-
Phone: 706.331.0315
-
Email: info@oakvalleydesigns.com
-
Address: 30 River Ct SW Bldg E Cartersville, Ga 30120