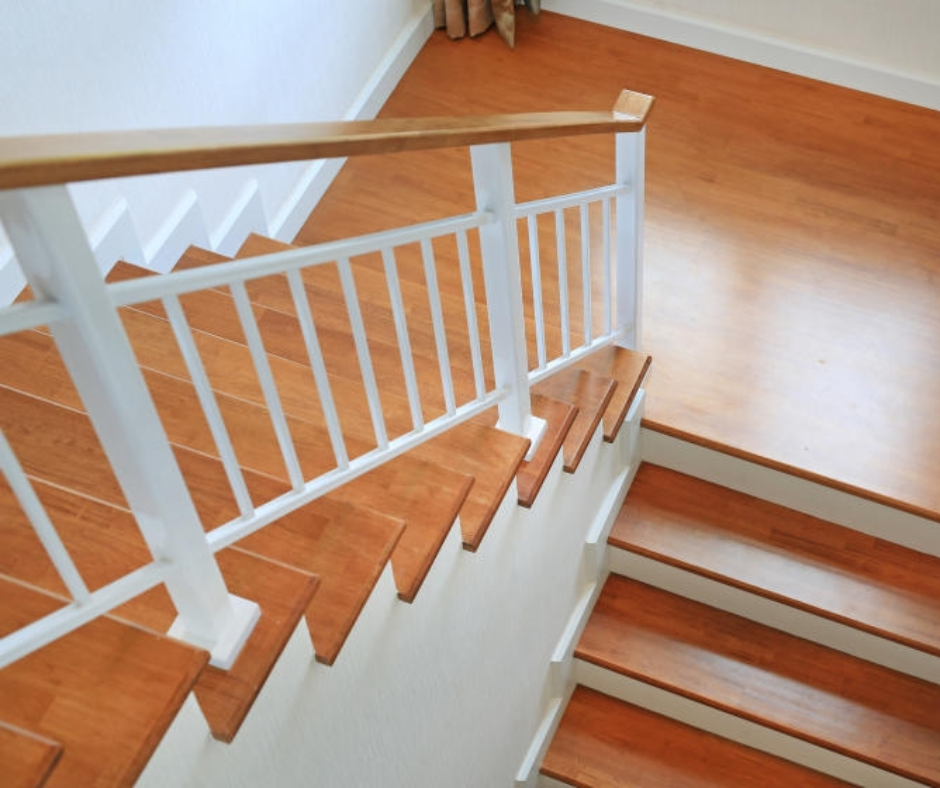
Want to update your stairs without the mess of sanding?
Learning how to refinish stair treads without sanding is a quick and effective way to refresh your staircase while avoiding dust and extensive prep work.
By using a bonding primer, stain or paint, and a protective topcoat, you can achieve a smooth, professional finish without the need for sanding.
This method works especially well if you're planning to install colorful stair treads, as they provide extra coverage and protection while adding a stylish touch to your staircase.
In this guide, we'll walk you through each step of the process, providing expert tips to help you get the best results and save time on your next home improvement project.
Keep reading to learn how to transform your stair treads with minimal effort and maximum impact!
What You'll Need
Before you start, make sure you have everything you need:
-
A cleaning solution or degreaser
-
Rags or paper towels
-
Painter’s tape
-
A high-quality bonding primer
-
Wood stain or paint
-
A brush or foam roller
-
Polyurethane finish
Make sure you buy products that are designed for floors. This will help your finish last longer.
Using the right products ensures your refinishing job will hold up under heavy foot traffic and other wear and tear.
A bonding primer, in particular, is essential for creating a solid foundation for your stain or paint to adhere to without sanding.
Gathering all the necessary tools and materials in advance will save you time and frustration during the process.
Having everything ready before you begin allows you to focus on the task at hand without having to pause and gather missing items.
Step 1: Clean the Stair Treads
The first thing you need to do is clean the stair treads.
Use a cleaning solution to remove dirt, dust, and any old finishes.
Rags or paper towels work well for this step.
Make sure to clean all areas, especially where dirt may have built up over time.
The cleaner the surface, the better your new finish will adhere, so don't skip this step.
It’s essential to remove any oils, grime, or dust that could prevent proper bonding.
If the treads are greasy or sticky, use a degreaser.
This will ensure the surface is completely free of any residue that might interfere with the primer or paint.
A good degreasing solution will make the next steps go smoothly and give you a better final product.
Cleaning the stairs is key to making the new finish stick.
Taking the time to do this well will pay off in the long run by preventing peeling or uneven staining once the finish is applied.
A thorough cleaning now will save you from having to redo the job later.
Step 2: Tape Off the Area
Next, tape off the surrounding areas.
Use painter’s tape along the edges of your stair treads to protect your walls and risers.
This is important because even a little paint or stain on your walls can make the whole area look unprofessional.
The clean lines created by painter’s tape will ensure that your stair treads stand out beautifully without any mistakes.
Make sure the tape is applied tightly to avoid any paint or stain getting on areas you don’t want.
Check the edges twice to make sure the tape is well-secured and won’t lift as you apply the paint or stain.
If the tape isn’t tight, it can cause uneven edges or even mess up your finish.
This will give you clean, sharp lines. It’s a simple step, but it’s vital to the final look.
The extra few minutes you spend on taping will give you a much more polished and professional result once everything is done.
Step 3: Apply a Bonding Primer
Now, you’ll apply a bonding primer to your stair treads.
This is a crucial step because it helps the stain or paint stick to the wood without sanding.
A good bonding primer fills in any tiny imperfections and creates a smooth surface for the paint or stain to go over.
If you skip this step, your finish might not adhere well, leading to chipping or peeling later on.
Choose a high-quality bonding primer designed for floors.
These primers are formulated to hold up to foot traffic and moisture, which is essential for stairs that get used every day.
Using a product specifically made for floors helps ensure your finish lasts for years.
Use a brush or foam roller to apply a thin, even coat. Be sure to cover the entire surface, including any cracks or edges.
A thin coat will dry faster and allow the paint or stain to soak in properly during the next stage.
Allow the primer to dry completely before moving on to the next step.
Step 4: Apply Stain or Paint
After the primer is dry, it's time to apply your stain or paint.
Pick a color that fits your style and the look you want for your stairs.
Whether you choose a classic wood stain or a bold paint color, make sure it complements the rest of your home’s design.
A darker stain can add sophistication, while a lighter shade can open up the space and make it feel airy.
Use a brush or foam roller to apply a smooth, even coat.
Be gentle to avoid streaks, and make sure you cover every area, including the edges of each tread.
Working in small sections helps you maintain control and achieve a flawless finish.
Let the first coat dry fully.
This is essential because if you apply the second coat too soon, it can cause the finish to become streaky or uneven.
If you want a darker color or deeper finish, apply a second coat.
It’s better to build up layers slowly for the best effect.
Wait for the paint or stain to dry completely before moving to the next step.
This could take several hours or even overnight, depending on the type of finish you’re using and the humidity level in your home.
Be patient—rushing this step can lead to poor results.
Step 5: Finish with Polyurethane
To protect your new finish, you’ll need to apply a polyurethane topcoat.
Choose a clear polyurethane that is suitable for floors.
This will create a hard, durable layer that protects your stairs from daily wear and tear.
There are different finishes available, from matte to glossy, so choose the one that matches your style.
Apply a thin, even coat using a clean brush or foam roller.
Avoid over-applying to prevent drips or bubbles. A thin coat is all you need to give the surface a smooth, protective finish.
Allow the first coat to dry before lightly sanding with a fine-grit sandpaper.
This will help the next coat stick better and prevent rough spots from forming.
Sanding between coats gives your finish a smoother texture and ensures that each layer adheres well.
Apply at least two coats of polyurethane, sanding lightly between each coat.
The final coat should be smooth and shiny.
The extra layers provide long-lasting protection and give your stairs a beautiful, professional finish.
Step 6: Let the Finish Cure
Once you’ve applied all the coats, let the finish cure.
Polyurethane takes time to fully cure.
Although it may feel dry to the touch, it’s still important to allow it to fully harden before putting any weight on it.
The curing process can take several days, but it ensures the durability and longevity of the finish.
Wait at least 24 to 48 hours before walking on your stairs.
This gives the polyurethane time to set and harden fully.
Avoid heavy foot traffic until the finish is completely cured to ensure the surface remains smooth and free from damage.
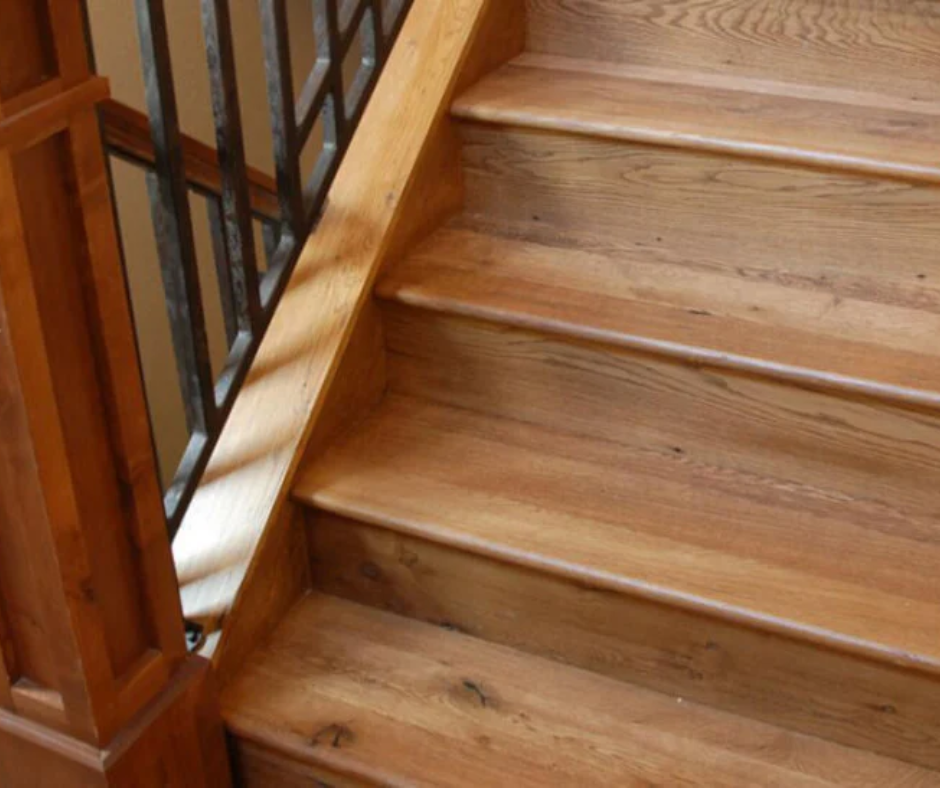
Finishing Red Oak Stair Treads: Tips and Techniques
When working with red oak stair treads, it’s important to choose the right finishing method to highlight the natural beauty of the wood.
Red oak is known for its rich color and grain patterns, making it a popular choice for stair treads.
Whether you're refinishing existing treads or installing new ones, knowing how to finish oak stair treads can make all the difference in achieving a long-lasting, beautiful result.
Start by properly preparing the surface, even if you’re not sanding.
Cleaning and priming are essential steps for any oak surface to ensure a smooth, durable finish.
Once the prep work is done, applying a wood stain that enhances the red oak’s natural warmth will give your stairs a refined, high-end look.
Finally, seal the finish with a polyurethane topcoat to protect your stairs from wear and tear while maintaining their natural beauty.
Following these tips will help you achieve a professional finish, making your red oak stair treads the centerpiece of your home.
Stepping It Up
With just a few materials and the right steps, you can transform your treads and bring new life to your stairs.
This method saves time and effort compared to traditional sanding, and the results can be just as beautiful.
Plus, it's a project that most homeowners can handle without the need for professional help.
Make sure to take your time, especially with the cleaning and drying stages.
These steps are critical for ensuring that your refinishing job is both professional-looking and durable.
The final product will not only look great but also last longer, making your stairs a beautiful feature in your home for years to come.
Transform Your Stairs with Oak Valley Designs Today!
Ready to give your staircase a makeover?
Oak Valley Designs is here to help you find the perfect solution with our high-quality carpet stair treads, landings, and hallway runners.
Whether you want a fresh look or need a practical upgrade, we’ve got the design and expertise to make it happen.
Let us help you transform your space today.
-
Visit us at oakvalleydesigns.com
-
Give us a call at 706.331.0315
-
You can also reach us by email at info@oakvalleydesigns.com.
-
Come see us at 30 River Ct SW Bldg E, Cartersville, GA 30120.
Your dream staircase is just a step away!