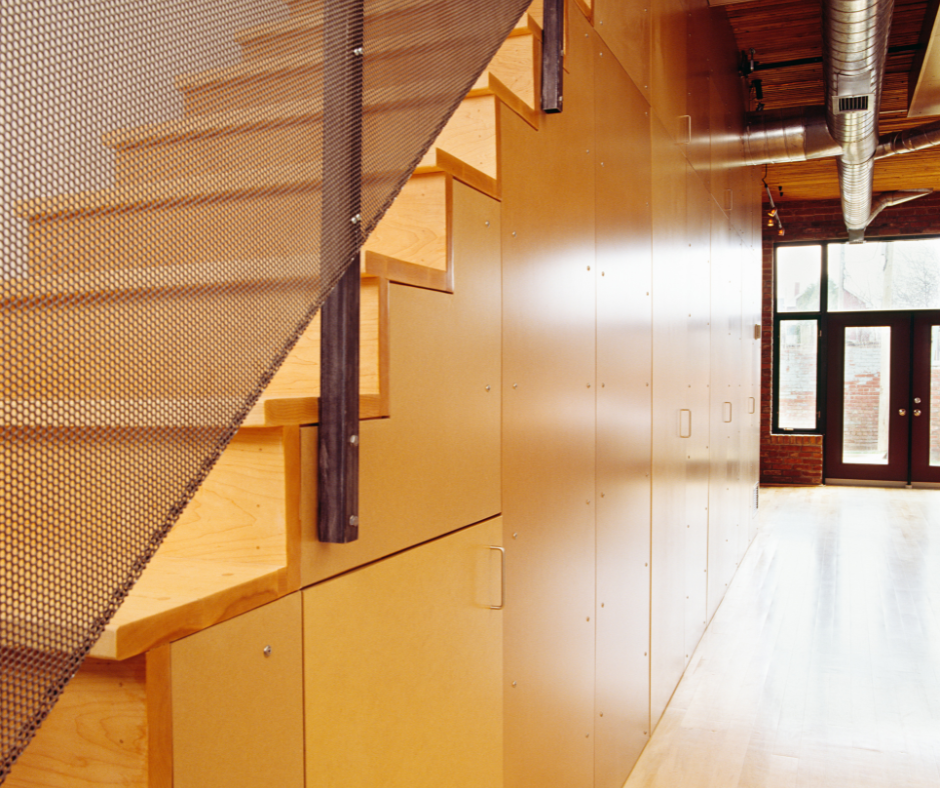
A staircase can go from basic to beautifully finished with just a few smart upgrades.
Installing stair tread returns means adding a finished edge to the exposed side of each step, giving your staircase a polished, custom look.
Paired with carpet stair treads, this upgrade boosts both safety and style instantly.
In this guide, you'll learn how to install stair tread returns step-by-step, including common mistakes to avoid.
We'll also cover how to choose between left and right returns and offer expert tips for a seamless finish.
Whether you're working with wood or carpeted stairs, this guide gives you everything you need for a professional result.
Why Install Stair Tread Returns
Stair tread returns do more than just improve looks.
They add function, protection, and long-term durability.
-
They guard exposed stair edges from wear and splintering.
-
They prevent injuries by smoothing out sharp corners.
-
They help the tread hold its finish longer.
-
They bring your stairs up to a more high-end, custom appearance.
If you’ve already installed carpet stair treads, a stair tread return can enhance that upgrade even further by framing your work with a clean border.
When Stair Tread Returns Are Needed
You’ll need stair tread returns if:
-
Your staircase has an open side or sides (left, right, or both).
-
You want a finished look along the side of the step.
-
You’re replacing or refinishing existing wood stairs and want them to look seamless.
Depending on your layout, you’ll choose either a left return, right return, or double return tread.
How to Install Stair Tread Returns
Installing stair tread returns isn’t difficult if you follow each step carefully.
The process can be done in one afternoon if you're using pre-cut returns or stair treads that are designed to receive a return piece.
Step 1: Measure and Mark the Tread and Return
Start by measuring the width and length of your stair tread.
Then mark the side where the return will go.
If you're using a pine stair tread with return that hasn’t been pre-assembled, mark the angles for your miter cuts clearly.
Step 2: Cut at a 45-Degree Angle
Using a miter saw, cut both the stair tread and the return piece at a 45-degree angle.
This allows the two pieces to fit together in a clean, flush seam.
A sharp blade is key here.
If you're creating a diy stair tread return, double-check your cuts before moving forward.
Step 3: Apply Wood Glue
Apply wood glue to both cut edges.
Be sure to use a strong, high-quality wood glue designed for trim or stair applications.
Step 4: Join and Clamp
Press the return piece into place so the mitered edges line up perfectly.
Use clamps to hold the pieces together while the glue dries.
Wipe off any excess glue immediately with a damp cloth.
Step 5: Sand for a Seamless Finish
Once the glue has dried fully (typically after a few hours), sand the joint carefully using fine-grit sandpaper.
Always sand in the direction of the wood grain for a smoother finish.
Step 6: Stain or Paint
To complete the look, apply your choice of wood stain or paint.
Match the tread’s finish or choose a slightly darker tone to make the return edge stand out.
Installing a Pine Stair Tread with Return
Pine is one of the most common materials used for stair treads.
It's cost-effective, easy to cut, and takes paint or stain well.
However, it can dent or chip if not properly finished.
If you're using a pine stair tread with return, make sure:
-
You pre-drill any screw holes to avoid splitting the wood.
-
You sand carefully to remove any surface imperfections.
-
You use a durable topcoat to protect against scuffs and scratches.
Pine tends to absorb stain unevenly, so consider applying a wood conditioner first.
This step ensures the finish looks even across the whole surface.
Common DIY Mistakes When Installing Returns
Whether you’re a beginner or experienced in woodworking, there are some easy-to-miss mistakes to watch out for:
-
Rushing cuts: Even a small misalignment can leave a gap.
-
Skipping clamps: Clamps keep your pieces from shifting while drying.
-
Neglecting finish prep: Always sand, clean, and seal your stair returns properly.
If you’re working on a diy stair tread return, give yourself extra time for setup and alignment.
This part of the process matters most for long-term durability and appearance.
Should You Install Risers or Treads First?
Always install risers first.
This gives you a smooth vertical surface to butt your treads up against, and it creates a tighter, more stable joint.
Steps for Installing Risers Before Treads:
-
Apply construction adhesive to the back of the riser.
-
Secure the riser to the stringer using screws or finish nails.
-
Then install the stair tread on top, pressing it firmly in place.
Why This Order Works Best:
-
It creates better load distribution.
-
It gives a clean, finished front edge.
-
It prevents gaps between the tread and riser.
Choosing Between Right, Left, or Double Returns
Returns are placed based on which side of your stair is open.
-
Right Return: The finished edge is on the right when standing at the bottom of the stairs.
-
Left Return: The finished edge is on the left.
-
Double Return: Both sides of the tread are exposed and need return pieces.
Measure carefully to ensure you get the correct type.
Mismatched returns are one of the most common causes of delays during installation.
Getting Perfect Return Edges
A flawless return edge makes a huge difference in how your staircase looks.
Here’s how to get it right:
-
Use a Sharp Blade: A dull blade causes chipping and uneven cuts. Always use a sharp blade on your miter saw for smooth edges.
-
Dry Fit First: Before gluing, do a dry run. This helps you test the fit and alignment.
-
Clamp Well: Use clamps to apply even pressure while the glue dries. This step ensures your return piece sets tightly in place.
-
Sand With the Grain: Once dry, sand lightly but thoroughly. Sanding along the wood grain prevents scratches and gives a more professional finish.
-
Add Protective Finish: Seal your work with a durable stain, paint, or polyurethane to guard against wear and tear.
How to Maintain Stair Tread Returns
To keep your stair treads and returns looking new:
-
Vacuum regularly to remove dirt and debris.
-
Wipe spills immediately to prevent stains or warping.
-
Reapply finish every few years to protect the wood.
Staircases get heavy use, especially in family homes.
Keeping them clean and protected will extend their life and appearance.
DIY Stair Tread Return Tips for a Smoother Project
Even if you’re new to woodworking, these tips will help your diy stair tread return project go smoothly:
-
Use painter’s tape to mark your cuts before using the saw.
-
Keep your workspace clean and free of dust before gluing.
-
Work in a well-ventilated area when staining or sealing wood.
Always double-check your measurements. Taking your time here saves a lot of effort later.
Steps To Success
A well-installed stair return shows attention to detail.
It also reflects the quality of your home and the care you’ve put into it.
That’s why premium materials and good craftsmanship are worth the effort.
At Oak Valley Designs, we believe that safe, beautiful stairs make a home feel finished.
Whether you’re adding a pine stair tread with return or choosing custom wool carpet treads, every detail counts.
Need Help With Stair Tread Returns? We’re Here for You.
Installing stair tread returns is easier when you have the right tools, the right plan, and the right partner.
Oak Valley Designs offers handcrafted stair solutions that blend safety, comfort, and timeless design.
With dozens of return options, sizes, and finishes, we help you get the perfect fit for your staircase — no stress, no mess.
-
Website: https://oakvalleydesigns.com/
-
Phone: 706.331.0315
-
Email: info@oakvalleydesigns.com
-
Address: 30 River Ct SW Bldg E Cartersville, Ga 30120