A worn or outdated staircase can affect both the look and safety of your home.
To learn how to replace steps and risers, start by removing the old treads and risers, measuring and cutting new materials to fit, and securing them with adhesive and finishing nails.
This upgrade enhances durability, style, and safety, ensuring a more stable and visually appealing staircase.
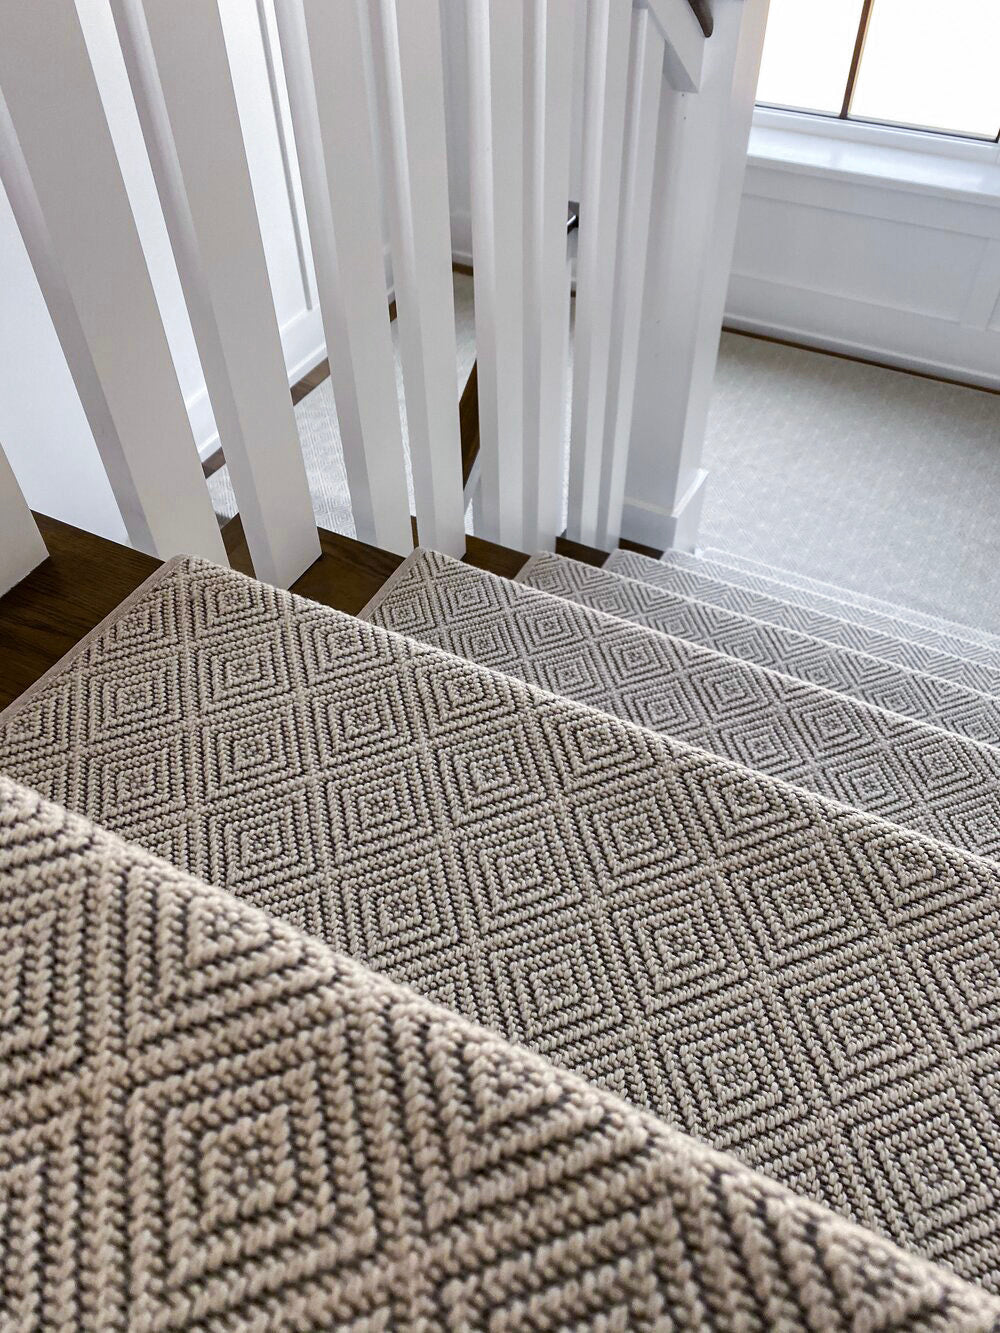
Beyond structural improvements, consider adding carpet stair treads for extra comfort and slip resistance.
These treads not only protect your new steps but also provide a stylish, non-slip surface ideal for homes with pets or children.
Keep reading to explore expert tips, material recommendations, and step-by-step guidance for a successful stair renovation.
Understanding Steps and Risers
Before beginning the project, it’s important to understand the key components of a staircase.
-
Stair Tread – The horizontal part of the staircase that you step on.
-
Stair Riser – The vertical component between each step that gives the staircase its height.
Both play a crucial role in the structural integrity and design of your staircase.
Over time, treads can wear down, crack, or become loose, while risers may show scuff marks, dents, or outdated designs.
Replacing both elements gives your stairs a brand-new look while improving safety.
Tools and Materials Needed
Before starting the process, gather the necessary tools and materials to ensure a smooth installation.
Essential Tools
-
Measuring tape
-
Pry bar
-
Circular saw or jigsaw
-
Drill and screwdriver
-
Wood adhesive
-
Finishing nails
-
Clamps
-
Sandpaper
Choosing the Right Materials
The type of material you select will determine the durability and aesthetic appeal of your staircase.
-
Hardwood (Oak, Maple, Cherry) – Offers high durability and a luxurious appearance.
-
Softwood (Pine, Poplar) – More affordable but may dent or wear more quickly.
-
Laminate or Engineered Wood – Budget-friendly alternatives that mimic natural wood.
-
Carpet Stair Treads – Enhance safety by reducing slips while adding comfort and style.
Selecting high-quality materials ensures your staircase remains durable and visually appealing for years to come.
Step-by-Step Guide: How to Replace Steps and Risers
Upgrading your staircase improves both safety and style.
This step-by-step guide will show you how to replace steps and risers with simple, effective methods.
Step 1: Remove the Old Treads and Risers
Start by carefully removing the existing stair treads and risers.
Use a pry bar to lift the treads, ensuring minimal damage to the surrounding structure.
If nails or screws hold the treads in place, remove them carefully.
If your stairs are covered with carpet stair treads, remove them before proceeding with the replacement.
Step 2: Measure and Cut New Treads and Risers
Measure the dimensions of your existing steps to ensure an exact fit for the new treads and risers.
Use a circular saw or jigsaw to cut the new pieces precisely.
For stair treads, ensure they extend slightly over the edge of the riser to create a finished look.
When cutting risers, make sure they fit snugly between the treads without gaps.
Step 3: Install the New Risers
Begin by installing the risers before the treads.
Apply wood adhesive to the back of the riser and secure it in place with finishing nails.
Ensure the riser is level before proceeding to the next step.
Step 4: Secure the Stair Treads
Apply wood adhesive to the top of the stair stringers (the support structure under the treads).
Place the new tread on top, ensuring it is flush with the front edge of the step.
Secure it with finishing nails or screws for added stability.
Clamp the treads in place until the adhesive fully dries to prevent any movement or gaps.
Step 5: Finishing Touches
Once the treads and risers are installed, sand down any rough edges to create a smooth finish.
Apply wood stain, paint, or a protective sealant to enhance durability and match your home’s décor.
How to Replace a Broken Stair Tread Without Replacing the Entire Staircase
If you have a damaged step but don’t want to replace the entire staircase, follow these steps to replace a single broken stair tread.
-
Inspect the Damage – Assess the condition of the broken tread and measure it to ensure an accurate replacement.
-
Remove the Old Tread – Use a pry bar to lift the damaged stair tread carefully. Be cautious not to damage adjacent steps.
-
Cut a New Replacement Tread – Use a high-quality wood tread that matches the existing staircase in thickness and width.
-
Install the New Tread – Apply wood adhesive and secure the new tread with screws or finishing nails.
-
Finishing Touches – Sand the surface and apply stain or paint to match the surrounding stairs.
Replacing a single damaged stair tread prevents further deterioration while maintaining the staircase's structural integrity.
Can You Put New Stair Treads Over Old Ones?
Yes, an alternative to full replacement is installing new treads over existing ones, a process called retreading.
This method is ideal for DIY homeowners looking for a quick and efficient upgrade.
How to Retread Stairs
-
Prepare the Old Treads – Ensure the existing stair treads are level and free from damage.
-
Measure and Cut the New Treads – The new treads should fit precisely over the existing ones.
-
Apply Adhesive – Use a strong construction adhesive to bond the new tread securely.
-
Secure and Finish – Fasten the treads with screws or nails and apply stain or paint as needed.
Retreading is a budget-friendly way to refresh your staircase without major reconstruction.
Enhancing Safety and Style with Stair Treads
For homeowners concerned about safety, adding carpet stair treads can prevent slips while providing extra comfort.
Carpet treads are especially useful in homes with children or pets, as they offer a non-slip surface that reduces the risk of falls.
Additional Safety Features
-
Anti-Slip Stair Pads – Provide extra grip on hardwood stairs.
-
LED Stair Lights – Improve visibility, especially in dimly lit areas.
-
Rounded Edges – Reduce the risk of sharp corners, making stairs safer for young children.
Beyond safety, stair treads also contribute to your home’s overall style.
Popular trends include:
-
Contrasting colors (dark treads with white risers)
-
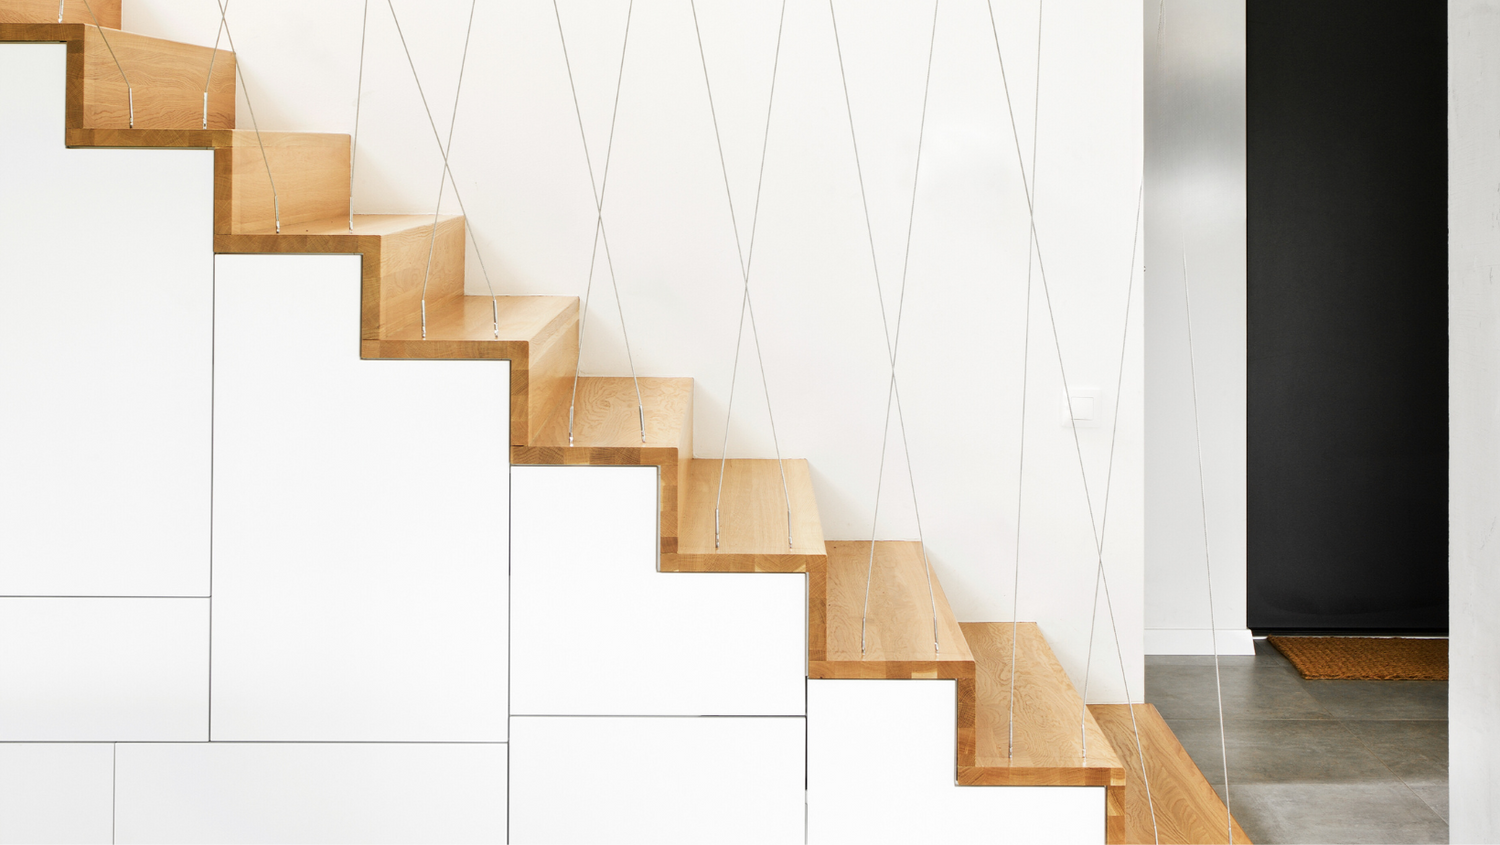
Natural wood finishes for a rustic appeal
-
Sleek, modern designs with matte finishes
Steps To Success
Replacing steps and risers is a practical and effective way to upgrade your staircase, improving both safety and aesthetics.
A well-executed replacement ensures your stairs remain sturdy, level, and visually appealing for years to come.
Whether you’re fixing damage or modernizing your home, learning how to replace steps and risers allows you to achieve a high-quality finish with the right tools and materials.
By following the correct installation process, you can create a staircase that enhances both function and design.
Properly secured treads and risers provide long-term durability, reducing maintenance and safety concerns.
With careful planning and expert techniques, your stairway transformation can add lasting value and style to your home.
Upgrade Your Staircase with Oak Valley Designs
Ready to upgrade your staircase?
Contact us today for premium carpet stair treads designed for both safety and style.
-
Website: https://oakvalleydesigns.com/
-
Phone: 706.331.0315
-
Email: info@oakvalleydesigns.com
-
Address: 30 River Ct SW Bldg E Cartersville, Ga 30120