Your staircase sees daily traffic, and worn-out vinyl treads can make it look outdated or unsafe.
To tackle how to remove vinyl stair treads, apply heat to loosen the adhesive, use a putty knife to lift the edges, and remove any residue with an adhesive remover.
This process ensures a clean surface for new, stylish upgrades that enhance both safety and design.
After removal, consider upgrading to carpet stair treads, which provide superior comfort, traction, and a refined look.
These treads not only reduce noise but also offer a slip-resistant surface, making them ideal for families with children and pets.
Keep reading for a step-by-step guide to ensure a smooth transition and expert tips for choosing the best new stair treads.
Understanding Vinyl Stair Treads and Why You Should Replace Them
Vinyl stair treads are commonly used because they are affordable, easy to install, and provide a non-slip surface.
However, there are several reasons why homeowners choose to remove them:
-
Wear and Tear – Over time, vinyl treads can crack, peel, or become discolored, reducing their visual appeal.
-
Reduced Adhesion – The adhesive backing can lose its grip, making the treads shift or become hazardous.
-
Upgrading to a High-End Look – Vinyl treads may not align with your design preferences, especially if you want a more luxurious staircase.
-
Safety Concerns – Worn-out treads may not provide adequate traction, increasing the risk of slips and falls.
If any of these factors apply to your staircase, it’s time to remove and replace your vinyl stair treads with something more durable, stylish, and functional.
Tools and Materials You’ll Need
Before starting the removal process, gather the necessary tools and materials to ensure a smooth process:
-
Heat gun or hair dryer
-
Putty knife or scraper
-
Utility knife
-
Protective gloves
-
Adhesive remover (citrus-based or commercial-grade)
-
Scrubbing pad or sponge
-
Damp cloth
Having these tools on hand will make the process easier and help minimize potential damage to your stairs.
Step-by-Step Guide: How to Remove Glued Stair Treads
When vinyl stair treads are installed, they are often glued down to provide a secure grip.
This adhesive can be stubborn, so learning how to remove glued stair treads properly is essential to avoid damage to the underlying surface.
Step 1: Prepare the Area
Before you begin, clear the staircase of any obstructions.
Ensure the space is well-ventilated, as heating adhesives can release fumes.
If possible, wear protective gloves to keep your hands safe from sharp edges and adhesive residue.
Step 2: Apply Heat to Loosen the Adhesive
Start by using a heat gun or a hair dryer to warm the edges of a stair tread.
The heat softens the adhesive, making it easier to peel off the vinyl without leaving too much residue.
Hold the heat source a few inches away from the vinyl and move it in slow, circular motions.
Avoid overheating one spot, as excessive heat can damage the underlying stair surface.
Step 3: Lift and Peel the Tread
Once the adhesive softens, insert a putty knife under the edge of the vinyl tread.
Gently lift the tread while continuing to apply heat as needed.
If you encounter resistance, do not force it—apply more heat and try again.
Work in sections, peeling back a few inches at a time to avoid tearing the vinyl into smaller pieces.
This method ensures easier cleanup and prevents damage to the wood underneath.
Step 4: Remove Adhesive Residue
After peeling away the vinyl, there will likely be adhesive residue left behind.
Use an adhesive remover suited for your stair material and scrub the surface with a sponge or scrubbing pad.
Let the adhesive remover sit for a few minutes before wiping it away with a damp cloth.
Repeat this process until all residue is gone, leaving the staircase clean and ready for its next upgrade.
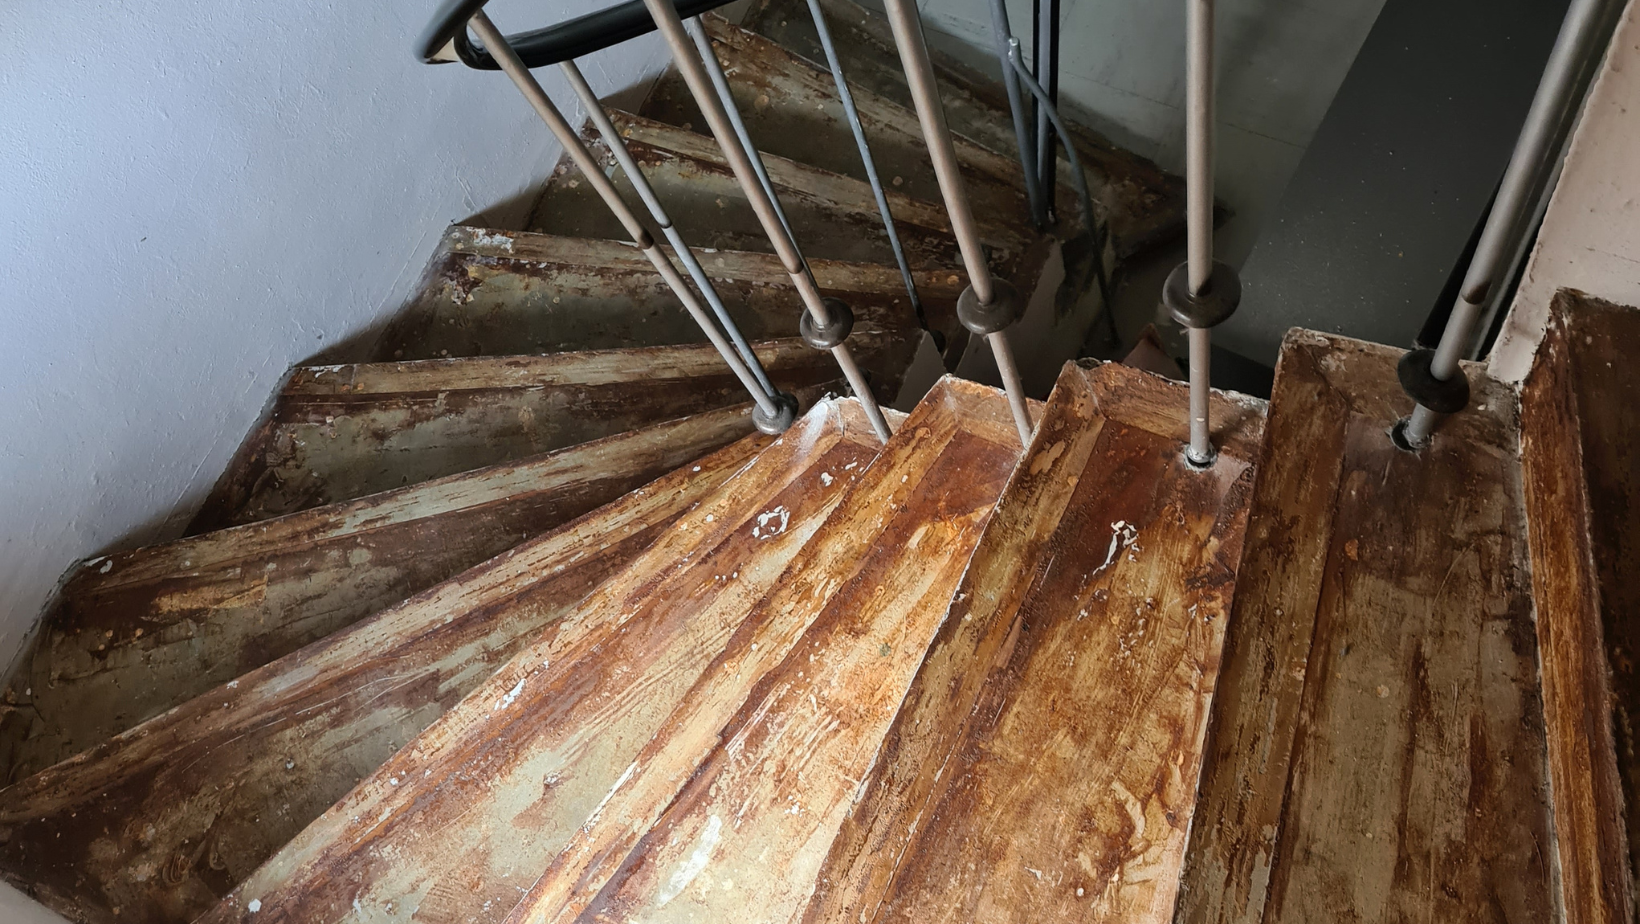
How to Remove Old Stair Treads for a Full Upgrade
If you’re planning a complete staircase makeover, you may need to remove not just the vinyl coverings but the entire tread itself.
Knowing how to remove old stair treads ensures a clean and sturdy base for your new installation.
Step 1: Inspect and Identify the Attachment Method
Before removing old stair treads, inspect how they are secured.
Some may be nailed, screwed, or glued into place.
Identifying the attachment method will help you determine the best removal strategy.
Step 2: Remove Fasteners
If the stair treads are nailed down, use the back of a hammer or a pry bar to lift the nails.
For screws, use a drill or screwdriver to remove them.
If the treads are glued, apply heat or use a chisel to loosen the adhesive.
Step 3: Carefully Pry Up the Treads
Starting from the top of the staircase, use a pry bar to gently lift each tread.
If resistance is met, work slowly to prevent damaging the risers or structural components.
Step 4: Clean and Prep for New Treads
Once all old treads are removed, inspect the staircase for any needed repairs.
Sand down any rough patches and ensure the surface is level before installing new stair treads.
Common Mistakes to Avoid When Removing Vinyl Stair Treads
Many homeowners attempt this project without proper preparation, which can lead to unnecessary damage or frustration.
Here are some common mistakes to avoid:
-
Not using enough heat – Without sufficient heat, the adhesive remains strong, making removal much harder.
-
Using excessive force – Trying to pry off treads too aggressively can damage the underlying staircase.
-
Skipping the adhesive removal step – Residual adhesive can interfere with new installations and create an uneven surface.
-
Failing to ventilate the area – Heating adhesives can release fumes, so proper ventilation is crucial.
By taking a careful and methodical approach, you can remove vinyl stair treads efficiently while keeping your stairs in top condition.
Upgrading to High-Quality Stair Treads
Once the old vinyl treads are removed, it’s time to select new stair treads that enhance both style and safety.
Oak Valley Designs specializes in high-end, durable stair treads that provide a perfect blend of luxury and function.
Choosing the Right Material
Consider factors like durability, comfort, and style when selecting new stair treads:
-
Carpet stair treads – Offer softness underfoot and provide excellent traction, especially in homes with pets and children.
-
Hardwood treads – Create a sleek, elegant look that complements modern interiors.
-
Non-slip finishes – Essential for added safety, especially on high-traffic staircases.
Stepping It Up
Successfully learning how to remove vinyl stair treads allows you to upgrade your staircase with a cleaner, safer, and more stylish solution.
By following the right steps—applying heat, using a putty knife, and removing adhesive residue—you ensure a smooth and damage-free removal process.
This not only prepares your stairs for a fresh look but also enhances their durability and long-term safety.
Upgrading after removal gives you the opportunity to choose high-quality materials that better match your home’s style and needs.
Whether you opt for carpet, wood, or another durable finish, a well-prepared surface ensures a seamless installation.
Taking the time to do it right guarantees a staircase that is both functional and visually appealing for years to come.
Upgrade Your Staircase with Oak Valley Designs
For luxurious, durable stair treads, that won't cause residue if you remove them, explore Oak Valley Designs' collection.
Contact us today to find the perfect solution for your home.
-
Website: https://oakvalleydesigns.com/
-
Phone: 706.331.0315
-
Email: info@oakvalleydesigns.com
-
Address: 30 River Ct SW Bldg E Cartersville, Ga 30120