Is your staircase ready for a fresh new look, but stubborn adhesive is holding you back?
Here’s how to remove stair tread adhesive: apply heat to soften it, scrape it off with a putty knife, use an adhesive remover for any residue, sand the surface smooth, and clean thoroughly before adding new treads.
In this guide, you’ll get step-by-step instructions, tips for handling tough spots, and expert advice to ensure your staircase is prepped perfectly for its transformation, whether you're installing carpet stair treads or another material.
Keep reading to make the process faster, safer, and more effective, no matter what type of adhesive you’re dealing with.
Here’s a brief overview of how to remove stair tread adhesive:
-
Apply heat
-
Scrape adhesive
-
Apply adhesive remover
-
Sand the residue
-
Clean and prep
Each of these steps plays an important role in ensuring your staircase is properly prepped for new materials.
Skipping any step can result in poor adhesion, uneven surfaces, or even damage to the underlying wood.
Taking the time to follow this process carefully will lead to better, longer-lasting results.
How to Remove Stair Tread Adhesive
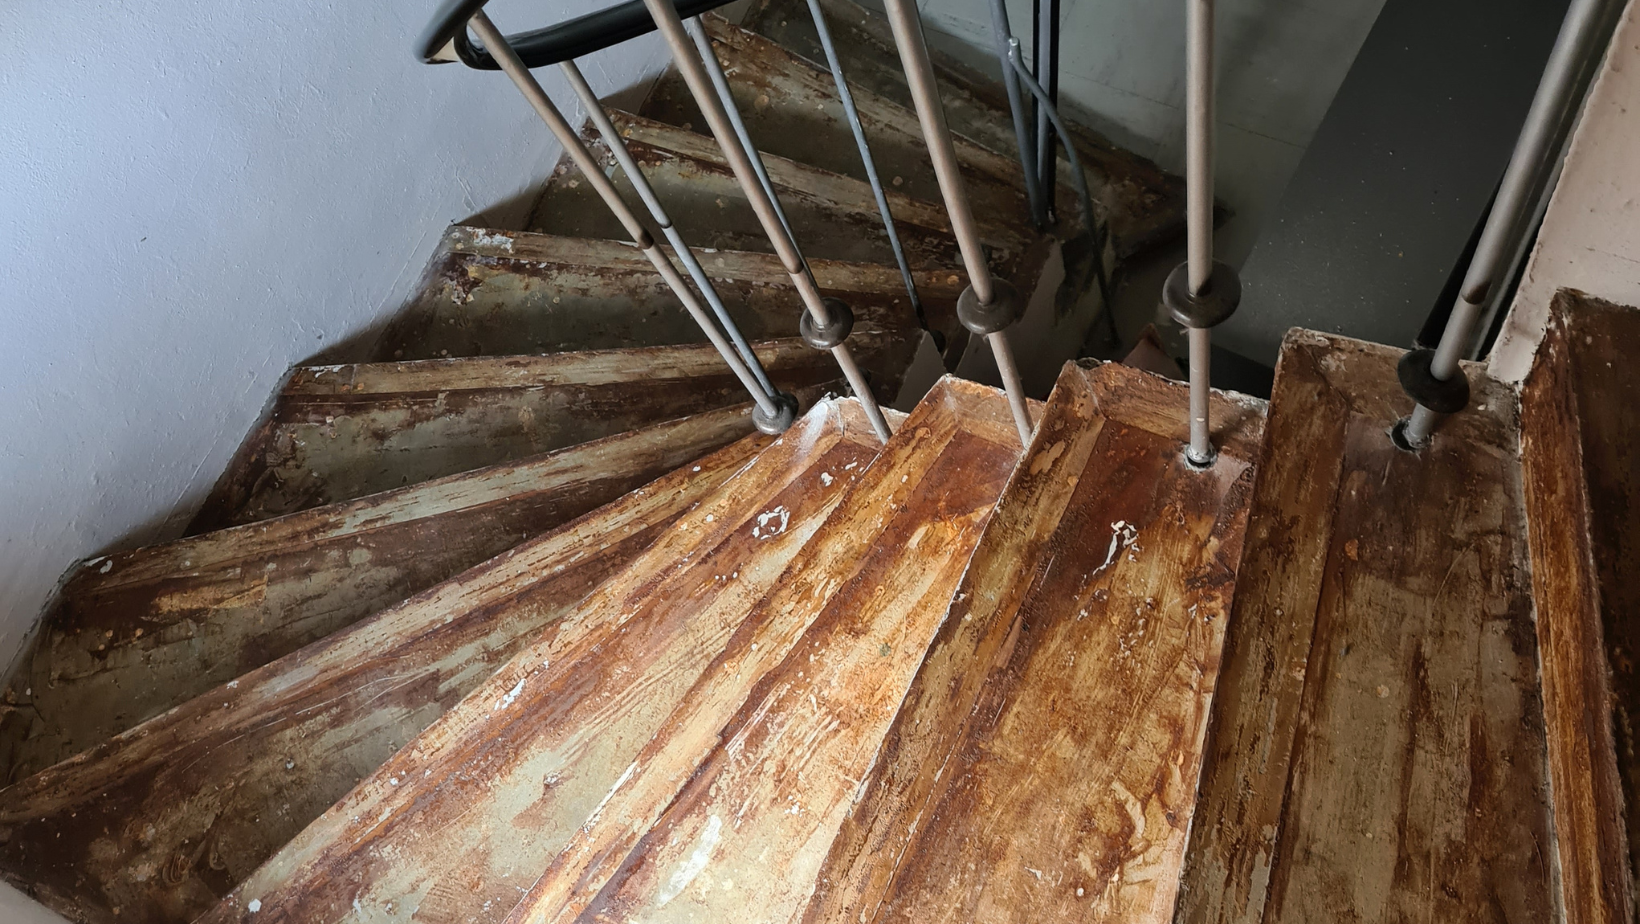
Removing stair tread adhesive can feel tricky, especially if you're dealing with rubber stair treads.
But with the right tools and steps, you can get your stairs ready for a fresh look.
Whether you're removing old carpet glue or leftover adhesive from past installations, the key is to work step-by-step.
This method helps prevent damage to your stairs while ensuring all the adhesive is fully removed.
By following a structured approach, you'll avoid common mistakes like gouging the wood or leaving sticky residue behind.
Assessing Your Stairs
Before you begin, take a close look at your stairs.
Figure out what kind of adhesive was used and check the condition of the wood or material underneath.
If you’re dealing with carpet glue, it may be harder to remove than modern adhesives used for wood or vinyl treads.
Identifying whether the adhesive is water-based or solvent-based can help you choose the most effective removal method.
Also, checking for signs of damage, like rot or warping, will allow you to address structural issues before installing new treads.
Tools You'll Need
-
Heat gun or hair dryer
-
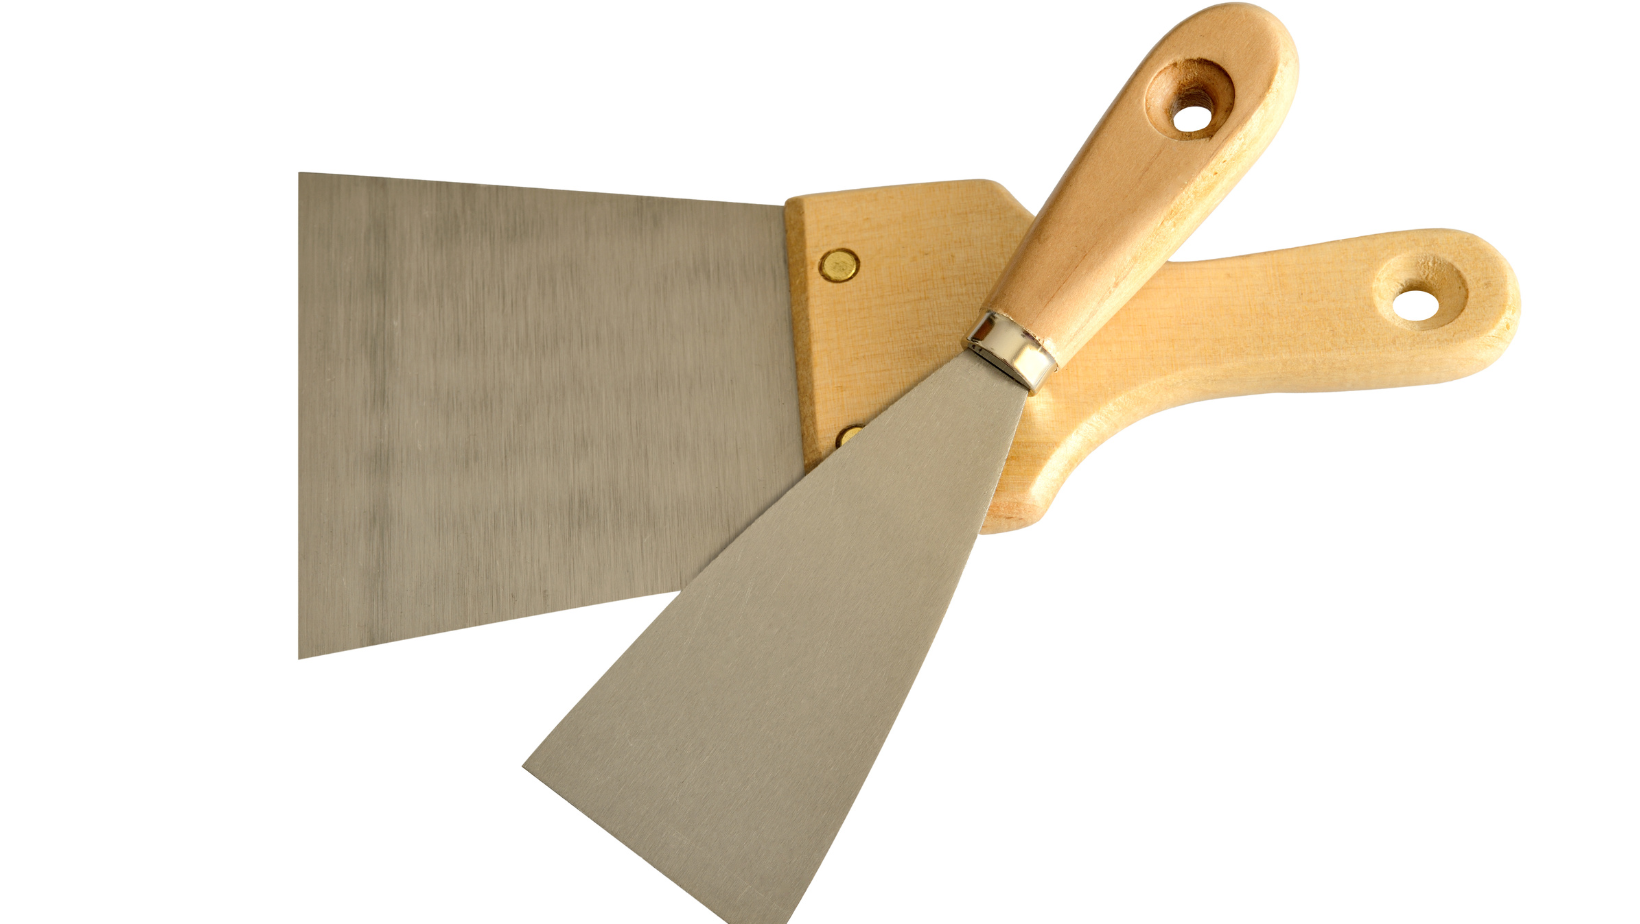
Putty knife or scraper
-
Adhesive remover (choose one that matches your adhesive type)
-
Sandpaper (medium and fine grit)
-
Protective gloves and a mask
Having the right tools on hand will make the job easier and more efficient.
For example, a heat gun provides more consistent heat than a hair dryer, which can speed up the process.
Using protective gear like gloves and a mask is essential, especially when working with strong adhesives or chemical removers.
Step-by-Step Process
1. Apply Heat: Use a heat gun or hair dryer to warm the adhesive.
This softens it, making it easier to scrape off.
Keep the heat source moving to avoid scorching the wood underneath.
Applying heat gradually in sections helps maintain control and reduces the risk of damage to the surface.
2. Scrape the Adhesive: Gently scrape the softened adhesive with a putty knife or scraper.
Be careful not to damage the surface below.
For stubborn spots, switch to a metal scraper but use light pressure to avoid gouging the wood.
If adhesive remains, reheat the area before attempting to scrape again.
3. Apply Adhesive Remover: For stubborn spots, apply an adhesive remover designed for your type of glue.
Follow the product instructions and make sure the area has good airflow.
Let the remover sit for the recommended time to break down the adhesive fully.
Using a clean cloth to wipe away the softened adhesive can prevent smearing residue across the surface.
4. Sand the Residue: After scraping, sand the area with medium-grit sandpaper, then switch to fine-grit for a smooth finish.
Always sand in the direction of the wood grain to maintain an even texture.
This step helps remove any lingering adhesive and prepares the surface for new treads or finishes.
5. Clean and Prep: Wipe down the area to remove dust and debris.
This will help your new stair treads stick properly.
Consider using a tack cloth or damp rag to ensure no particles are left behind.
A clean, dry surface is key to achieving a strong bond with the new adhesive.
How to Remove Carpet Glue from Wood
If you're switching from carpet to wood stairs, removing old carpet glue is an important step.
Carpet glue often hardens over time, making it more difficult to remove without the right technique.
Proper removal ensures the new wood finish looks smooth and professional without any bumps or ridges.
Effective Techniques
-
Use of Solvents: Solvents can break down old carpet glue. Test a small, hidden area first to make sure it won’t harm the wood. Apply the solvent generously, letting it sit for a few minutes to soften the glue before scraping. Be sure to work in a well-ventilated area to minimize exposure to fumes.
-
Mechanical Removal: For tough glue, use a mechanical floor scraper. Work carefully to avoid scratching the wood surface. If using power tools, adjust the settings to a low speed to maintain control. Consider using a buffer with an abrasive pad for large areas, as it can save time and reduce effort.
Tips for a Smooth Removal
-
Work in small sections to stay in control.
-
Scrape and sand in the direction of the wood grain to avoid damage.
-
Keep a clean workspace to prevent dust and debris from interfering with the adhesive removal process.
-
Use a flashlight to check for any missed spots, especially in corners and edges.
How to Remove Carpet Glue from Stairs
Removing carpet glue from stairs can be tricky because of the tight spaces and vertical surfaces.
Unlike flat floors, stairs have edges and corners that require extra attention.
This makes it important to use the right tools and techniques for a thorough job.
Techniques to Consider
-
Steaming: A steam cleaner can soften the glue, making it easier to scrape off with less need for chemicals. Hold the steam nozzle close to the glue for a few seconds to loosen it effectively. This method is especially helpful for eco-conscious homeowners looking to avoid harsh chemicals.
-
Specialized Scrapers: Use scrapers designed for corners and edges to reach tricky spots around stair risers and treads. Flexible blade scrapers can adapt to the contours of the stairs, reducing the risk of damage. Consider using a detail sander for tight spaces where scrapers can’t reach.
Preparing for New Treads
After the glue is gone, check your stairs for any damage.
Fix any issues and make sure the surface is smooth and even.
Proper prep helps your new stair treads last longer and look better.
Consider filling in small cracks or holes with wood filler to create a flawless finish.
Double-check that all surfaces are dry before applying new adhesive to prevent bonding issues.
Steps to Success
Upgrading your staircase can change the whole feel of your home.
By removing old stair tread adhesive the right way, you’ll create a strong, clean base for your new treads.
Good prep not only improves the look of your stairs but also makes them safer and more durable.
Taking the time to do the job properly will prevent issues like squeaky steps or loose treads in the future.
A well-finished staircase adds value to your home and creates a welcoming space for family and guests.
Ready to Transform Your Staircase?
At Oak Valley Designs, we're here to make your staircase renovation simple, stylish, and stress-free.
Whether you're dealing with tough adhesive or looking to upgrade with new carpet stair treads, landings, or hallway runners, we’ve got the perfect solutions to match your style and needs.
Our high-quality products are designed to add comfort, safety, and elegance to your home.
Plus, with expert advice just a call or click away, you’ll never feel stuck in your project.
Let Oak Valley Designs help you create a space you love.
Reach out today to get started:
-
Website: https://oakvalleydesigns.com/
-
Phone: 706.331.0315
-
Email: info@oakvalleydesigns.com
-
Address: 30 River Ct SW, Bldg E, Cartersville, GA 30120