Want to give your stairs a polished, high-end finish without hiring a pro?
Learning how to cut stair tread returns is the key to achieving clean, mitered edges that elevate the look and safety of open-sided stairs.
In this guide, you’ll discover the exact steps, tools, and pro tips needed to get a seamless fit every time.
You’ll also learn how adding carpet stair treads can protect your newly finished work while adding comfort and slip resistance.
Whether you're updating for style, function, or family safety, this DIY project can transform your stairs.
Let’s walk through everything you need to know to make it happen with confidence.
What Is a Stair Tread Return?
Let’s start simple.
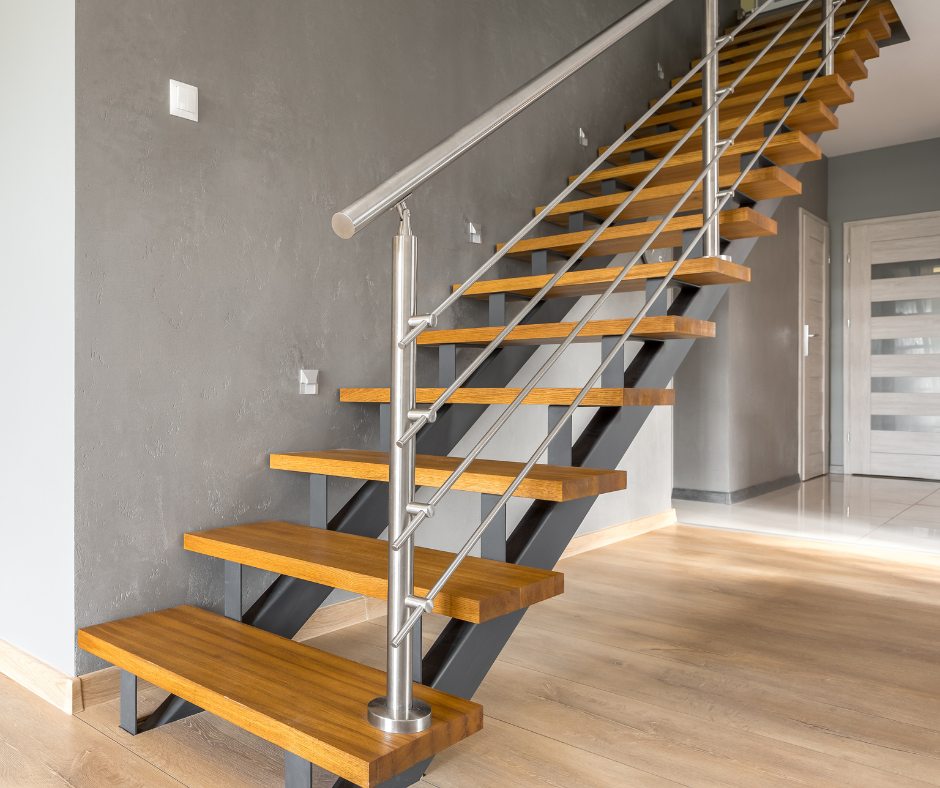
A stair tread return is the short, finished edge on the side of a stair tread—especially useful on stairs that don’t have a wall on both sides.
Without a return, the side of the wood is exposed, leaving it rough and unfinished.
By attaching a return, you hide the edge with a matching piece cut at an angle, giving your stair tread a clean, wrapped look.
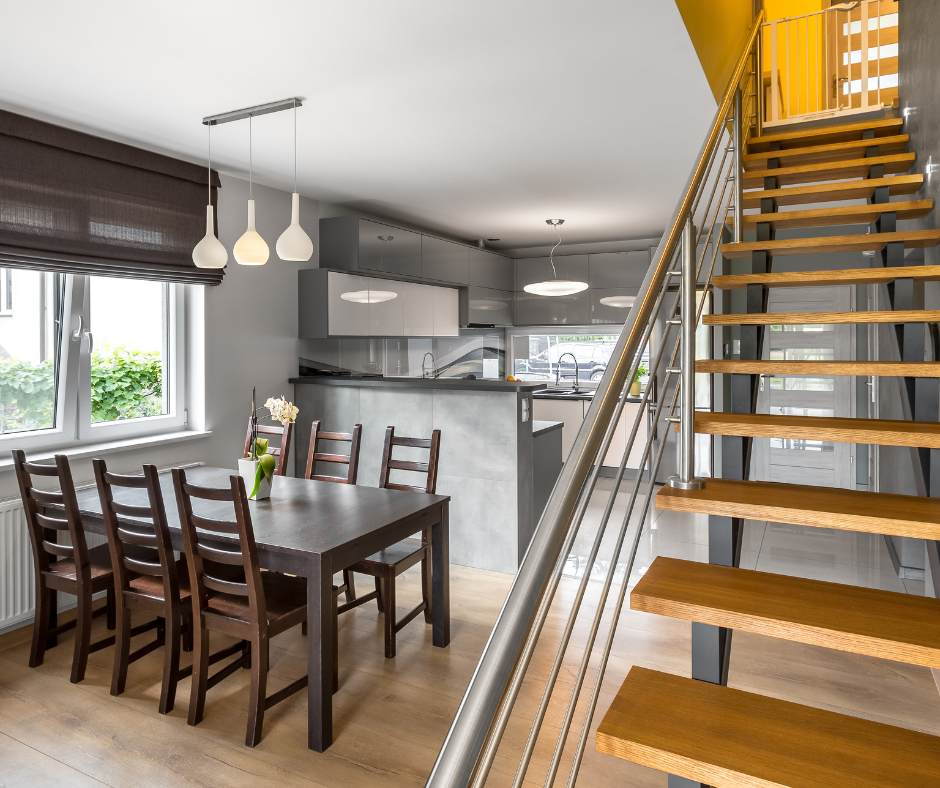
This detail matters most on open-ended stairs, where the tread is visible from the side.
Why Stair Tread Returns Matter in Home Design
Besides looking good, stair tread returns serve practical purposes.
Here’s why they’re worth the effort:
-
Visual polish: Returns help your stairs blend into the rest of your design. Without them, even a well-installed tread can look incomplete.
-
Edge protection: The sides of stairs are often bumped, brushed, and walked on. A return strengthens those edges.
-
Family safety: If you’ve got little ones or pets, rough or splintering stair edges can be a hazard. Returns cover and smooth those spots for better peace of mind.
Stair tread returns also increase the resale value of your home by showing attention to craftsmanship.
Tools and Materials You’ll Need
To do the job right, having the right tools is essential.
Here’s what you should have on hand:
Required Tools
-
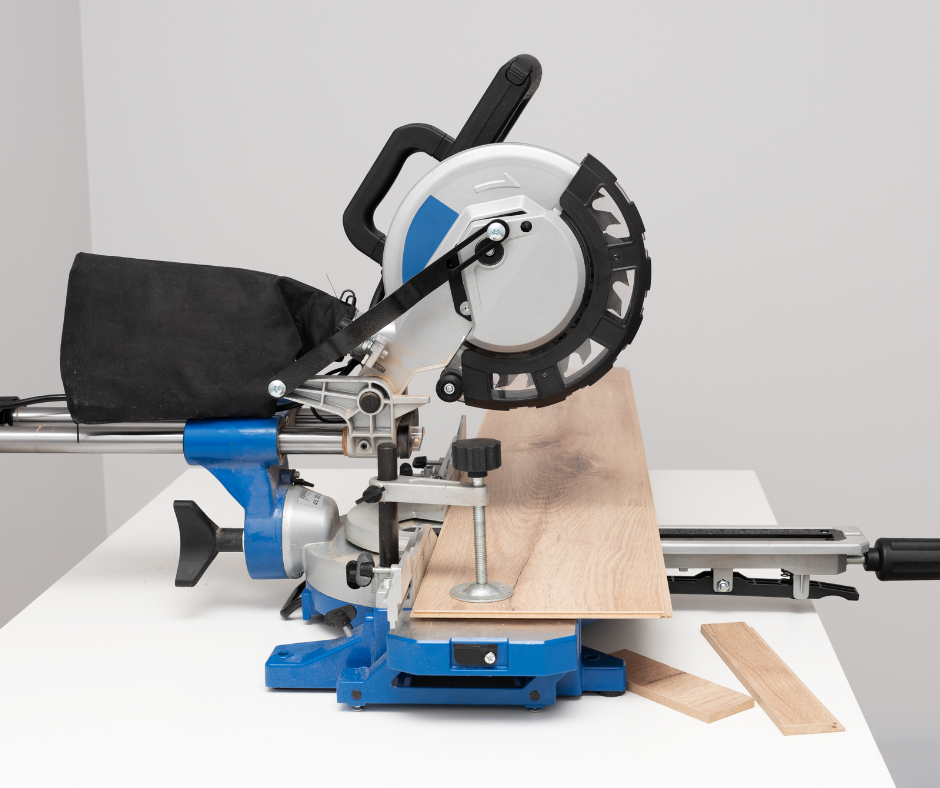
Miter saw (for clean 45° cuts)
-
Measuring tape
-
Pencil or fine marker
-
Wood glue
-
Clamps
-
Sander or sandpaper
-
Safety gear (glasses, ear protection)
Optional Tools
-
Nail gun or finishing nails (if you want extra hold)
-
Stain or paint (to match your stair finish)
-
Wood filler (for small imperfections at the joint)
Using these will give you professional-level results—without needing a contractor.
How to Prepare Before Making the Cuts
Preparation is key.
Before you touch a saw, take these simple steps:
-
Know your tread dimensions: Measure the full width and depth of the stair tread.
-
Identify which side needs the return: Is it the left side? Right side? Both? Open staircases often require returns on both sides.
-
Mark your cuts clearly: It’s always worth double-checking before you commit to a cut.
-
Dry fit the pieces first: Once cut, test fit them before gluing or sanding to avoid waste.
This prep will save you time and make the rest of the job go more smoothly.
Miter Saw 101: Your Best Friend for This Project
When it comes to stair tread returns, a miter saw is more than helpful—it’s essential.
You’ll need precise 45-degree angle cuts to create the mitered corners that join the tread and the return piece.
Why Use a Miter Saw?
-
Clean cuts that line up tightly at the corners
-
Adjustable angles for different return styles
-
Safer and faster than trying to cut by hand
If you’re just learning how to do a mitered return stair tread, a miter saw will give you the clean finish you’re aiming for—something hard to get with other tools.
Step-by-Step: Cutting and Installing Stair Tread Returns
Let’s break down how to cut stair tread returns into clear, easy steps.
1. Measure Your Tread and Return Area
Mark the width of your stair tread and where the return piece will go.
If it’s an open right-hand return, mark the right edge.
Do the same for both sides if needed.
2. Cut the Main Tread at a 45-Degree Angle
Use your miter saw to cut a 45-degree angle inward from the side where the return will be attached.
This leaves an open miter edge ready to join with the return.
3. Cut the Return Piece to Match
Flip the wood and cut your return piece at the opposite 45-degree angle so the two angled cuts form a perfect corner when placed together.
This part is key when learning how to do a mitered return stair tread—the angles must mirror each other.
4. Glue and Clamp
Apply wood glue to both angled edges.
Fit the return tightly to the stair tread and clamp them together.
Let it dry fully (check your glue label for timing).
5. Sand and Finish
Once dry, sand the joined area until smooth.
Then stain or paint to match your stair finish.
Repeat the steps for each stair as needed.
Common Mistakes to Avoid
As straightforward as this project can be, a few things can throw you off.
Here’s what to watch for:
-
Misaligned cuts: Even a tiny angle mismatch can make the joint look sloppy. Double-check the direction of your 45-degree cut every time.
-
Uneven glue spread: Too much glue can create a messy joint, while too little won’t hold.
-
Skipping sanding: The miter seam won’t disappear on its own. A few minutes of sanding makes all the difference.
The best way to learn how to cut stair tread returns properly is through practice—and patience.
When to Use Left vs. Right Returns
Not all stairs are the same.
You may need a:
-
Right return: For stairs with the right side open
-
Left return: For stairs with the left side exposed
-
Double return: For staircases open on both ends
Some homeowners accidentally cut returns for the wrong side.
Always test the direction before making your cut.
If you're working on multiple stairs, labeling each tread and return (Left 1, Right 2, etc.) can help keep your layout organized.
Choosing the Right Blade for the Job
The blade you use plays a big role in how clean your cuts look.
We recommend a fine-toothed, carbide-tipped blade—designed specifically for wood projects where smooth edges matter.
Using a standard blade may leave splinters or jagged edges, especially on hardwood or engineered wood treads.
Blade sizes vary, so make sure yours fits your miter saw model.
Sanding, Finishing, and Final Touches
Once all the returns are installed and dry, sanding brings the magic.
Focus on the corners where the return meets the tread—your goal is to create a seamless feel.
Then, apply:
-
Stain: To match an existing hardwood staircase
-
Paint: If your stairs are white, gray, or part of a colorful design
-
Clear sealer: To protect the surface from wear
Let everything dry fully before installing the treads onto your staircase.
When to Install Carpet Stair Treads
Once your returns are in place and your wood finish is cured, it’s the perfect time to add carpet stair treads.
Not only do they make your stairs safer for kids and pets, but they also protect your new return work from scratches and scuffs.
At Oak Valley Designs, our carpet stair treads are made to pair beautifully with finished staircases—especially ones with mitered returns.
They install easily without nails or staples, and they’re available in colors that complement every kind of finish.
Still Wondering How to Do a Mitered Return Stair Tread?
It’s okay to feel a little unsure before you make that first cut.
Learning how to do a mitered return stair tread takes practice, but it’s more approachable than you might think.
Our advice? Take it one step at a time.
Start with a test piece.
Cut. Adjust. Re-cut if needed.
There’s no need to rush, and when you get it right, the result is deeply satisfying—and adds long-lasting value to your home.
Steps to Success
Cutting stair tread returns is a skill every DIYer can learn—with the right tools and a little know-how.
From accurate miter cuts to gluing and sanding, each step adds up to a staircase that’s safe, beautiful, and built to last.
And when you’re ready to protect your hard work with something soft underfoot, our stair treads are ready to ship—made with love, comfort, and craftsmanship.
Need help customizing your stair treads or placing a swatch order?
We’re here for you.
-
Website: https://oakvalleydesigns.com/
-
Phone: 706.331.0315
-
Email: info@oakvalleydesigns.com
-
Address: 30 River Ct SW Bldg E Cartersville, Ga 30120