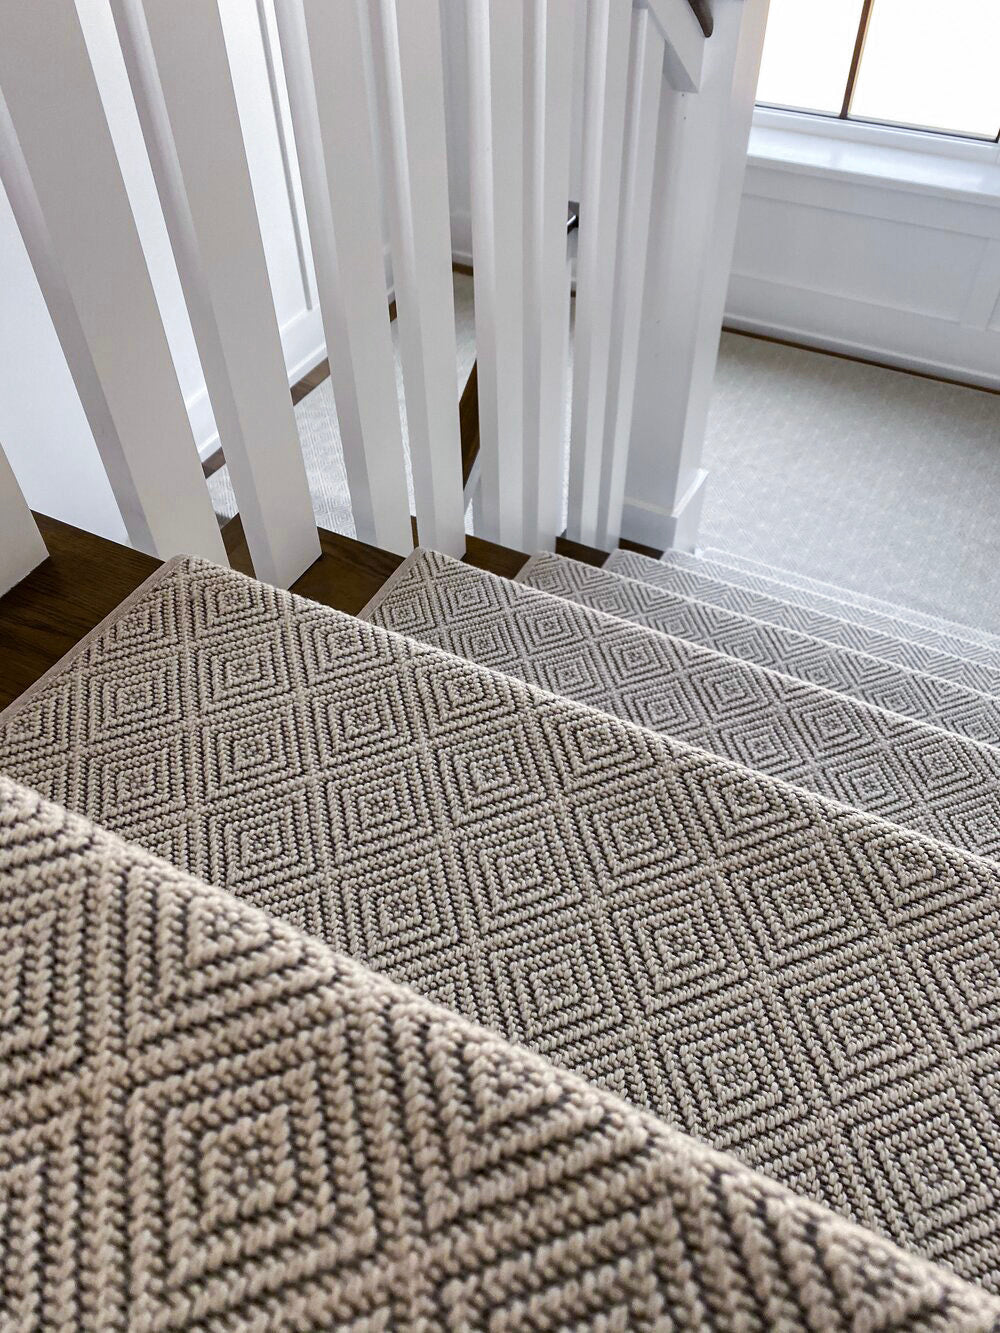
Attaching stair treads and risers may seem like a task you'd leave to the professionals, but with a little guidance and the right tools, you can enhance the safety and appearance of your home’s staircase. Let's walk through the process step-by-step, ensuring your stairs are as sturdy as they are stylish. We'll also give you a guide on how to install carpet stair treads as a bonus.
To attach stair treads and risers, start by applying a strong construction adhesive to the back of each riser and the top of each stringer, then secure them with finishing nails or screws for added stability. For the treads, apply adhesive where the tread will sit on the riser and stringer, place it, ensure it's flush and level, and fasten with screws or nails to complete the installation.
Understanding the Basics
Before diving into the installation, it’s essential to understand that both the treads (the part you step on) and the risers (the vertical parts between steps) play crucial roles in the structural integrity and aesthetic of your stairs.
Step-by-Step Guide to Attaching Treads and Risers
Step 1: Preparation
Measure your staircase to determine the size of treads and risers you’ll need. It’s wise to get precise measurements to avoid any gaps or overhang. Clean the area thoroughly to ensure no debris or old fittings hinder your installation.
Step 2: Cutting Materials
Once you have your measurements, cut your treads and risers according to size. If you’re using wood, a table saw will give you the cleanest cuts. Remember, safety first—wear protective gear during this step.
Step 3: Attaching the Risers
Start by attaching the risers from the bottom of the staircase up. Apply construction adhesive to the back of each riser, then position it against the frame of the staircase. Secure it with finishing nails or screws, ensuring it’s perfectly vertical.
Step 4: Attaching the Treads
After all risers are in place, start attaching the treads. Apply adhesive to the top of each riser and the back of the tread where it will sit on the riser. Place the tread, ensuring it’s flush with the riser’s edge and secure with nails or screws. If the tread extends beyond the stringer (the side parts of the staircase), you may want to add additional support underneath.
Keeping Stair Treads in Place
Should Stair Treads Be Nailed or Glued?
While both methods are effective, using both nails and adhesive together offers the best security. The adhesive provides a strong bond, while nails or screws help maintain the structural integrity, especially in high-traffic areas.
What to Use to Fasten Stair Treads
For wooden staircases, a combination of wood glue and screws or nails is typically sufficient to fasten stair treads. For carpeted treads, consider double-sided tape or carpet tacks for easier removal or adjustment.
How Do You Hold Stair Treads in Place?
For how to keep stair treads in place on wooden stairs, consider installing non-slip pads or anti-slip tape under the treads. This not only helps keep the tread in place but also prevents slipping, making your stairs safer for everyone.
Special Considerations for Carpet Stair Treads
Applying carpet stair treads with built-in adhesive backing is a straightforward DIY task that enhances both safety and style. Begin by cleaning the surface of each stair to ensure it's free of dust and debris, which helps the adhesive bond more effectively. Peel off the protective layer from the back of each tread to expose the adhesive, then carefully align the tread on the stair, starting from one edge and smoothing it out to the other to avoid air bubbles. Press down firmly along the entire surface to secure the tread in place. This simple process can be repeated for each step, providing a quick and effective stairway update.
Oak Valley Designs’ carpet stair treads are designed with your home’s aesthetics and safety in mind. Each tread comes with high-quality adhesive backing that allows for easy application and removal, providing a secure, non-permanent solution for keeping treads in place without damaging your staircase.
Conclusion
Attaching stair treads and risers is a straightforward process that significantly impacts your home's safety and style. With the right preparation, tools, and techniques, you can achieve a professional-looking result that makes your stairs a centerpiece of your home. Remember, a well-built staircase isn’t just a path between floors; it’s a bridge connecting the stories of your home.


