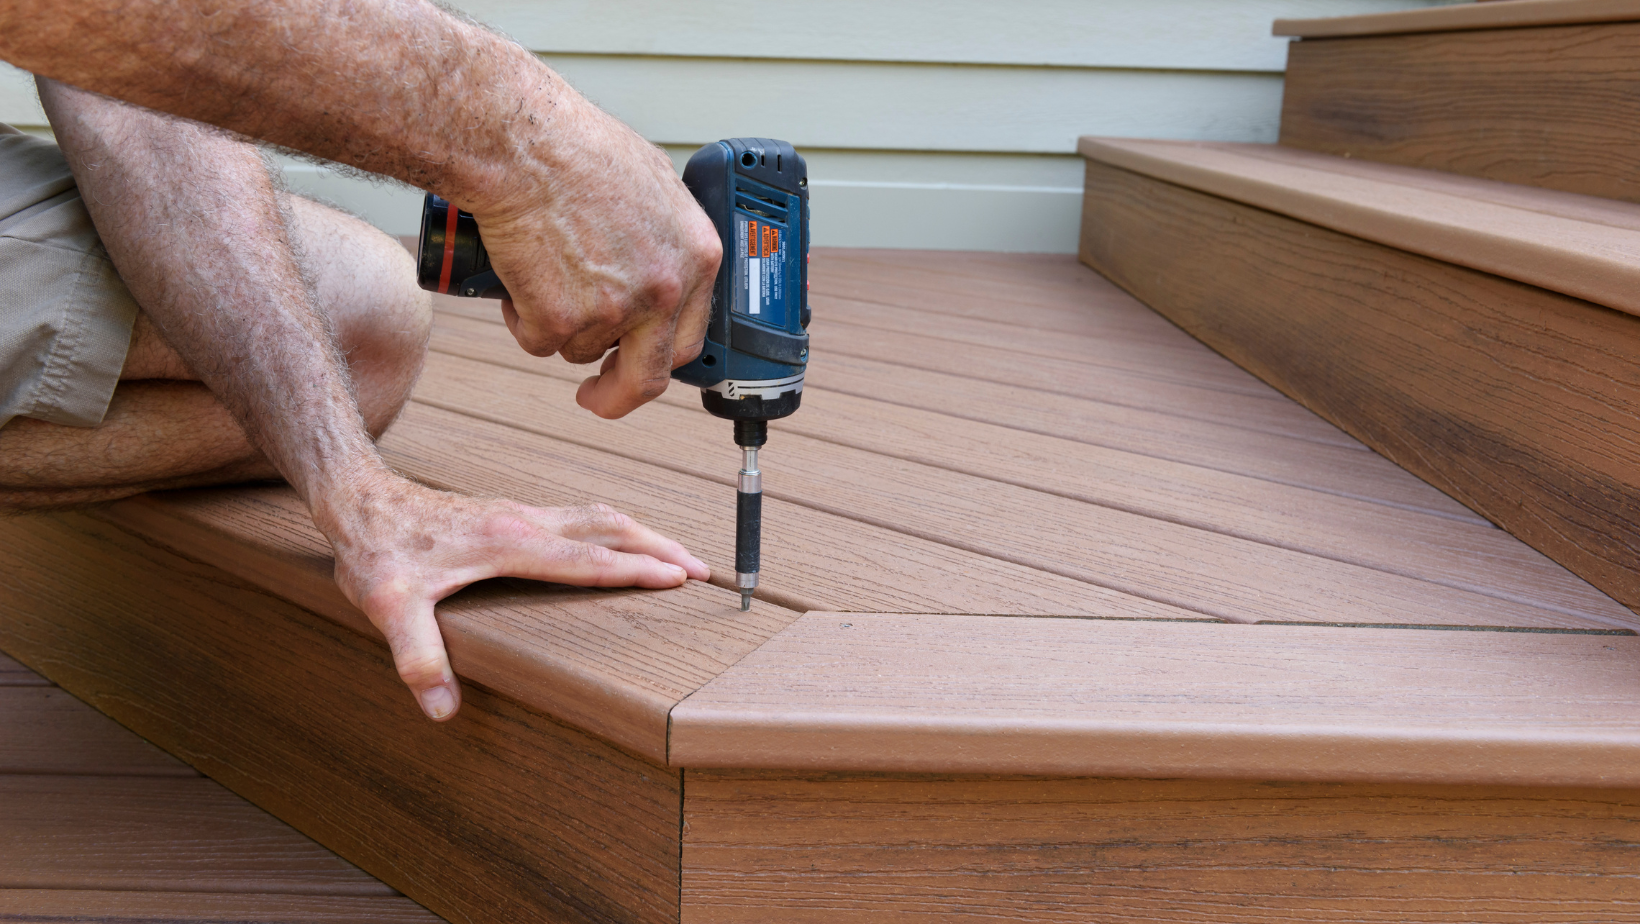
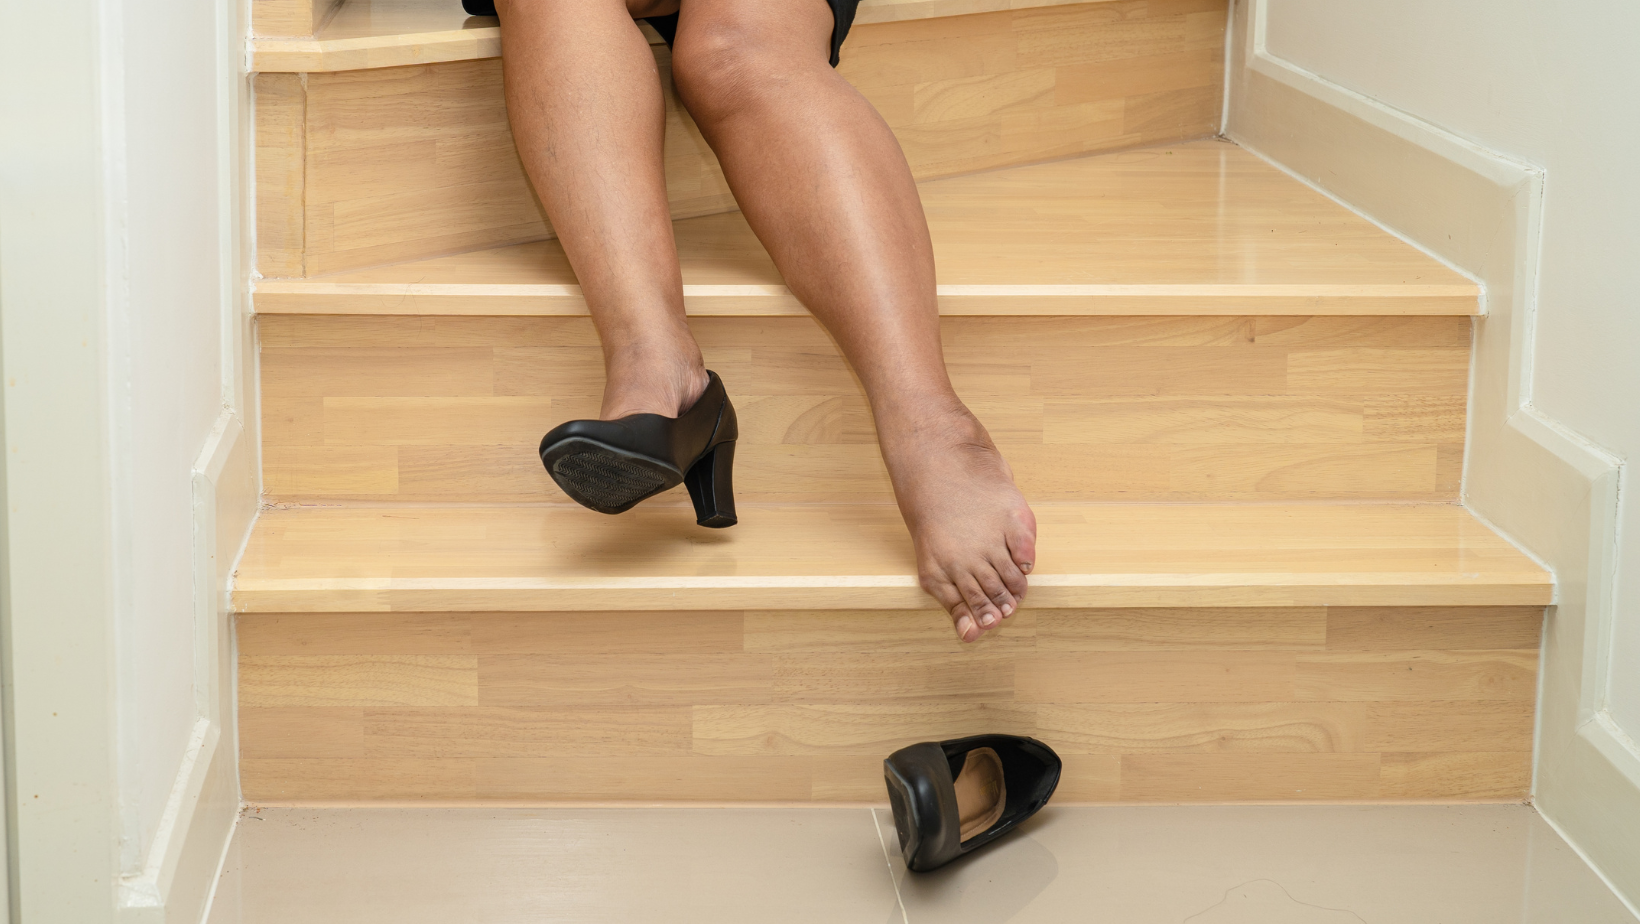
Loose steps, worn edges, and slippery stairs can put your family at risk. How to install your own stair nosing is simpler than you think—and it’s one of the smartest upgrades you can make for safety and style. This guide will show you exactly how to measure, choose, and install stair nosing, plus how options like carpet stair treads enhance comfort and durability.
Whether your stairs are wood, carpeted, or something in between, adding nosing protects your steps while keeping everyone safer. You’ll learn the best materials, tools, and adhesives to use, along with pro tips for smooth installation. Let’s walk through every step and help you feel confident doing it yourself—without paying for a contractor.
What Is Stair Nosing?
Stair nosing is the front edge of a stair tread that slightly overhangs each step. It adds grip, increases visibility, and prevents wear on the stair’s edge. In short, it makes each step feel safer and last longer.
Nosing is especially useful for homes with pets, kids, or older adults. Even a small edge can give your feet extra support and stop you from slipping. That’s why it’s one of the most recommended safety upgrades in home improvement.
Why DIY Stair Nosing Is Worth It
If you’re a DIYer or just want to avoid hiring a pro, stair nosing is a great project to tackle yourself. It doesn’t require advanced tools or skills—just care, precision, and the right materials. Plus, it adds lasting value to your home by protecting your stairs from daily wear and tear.
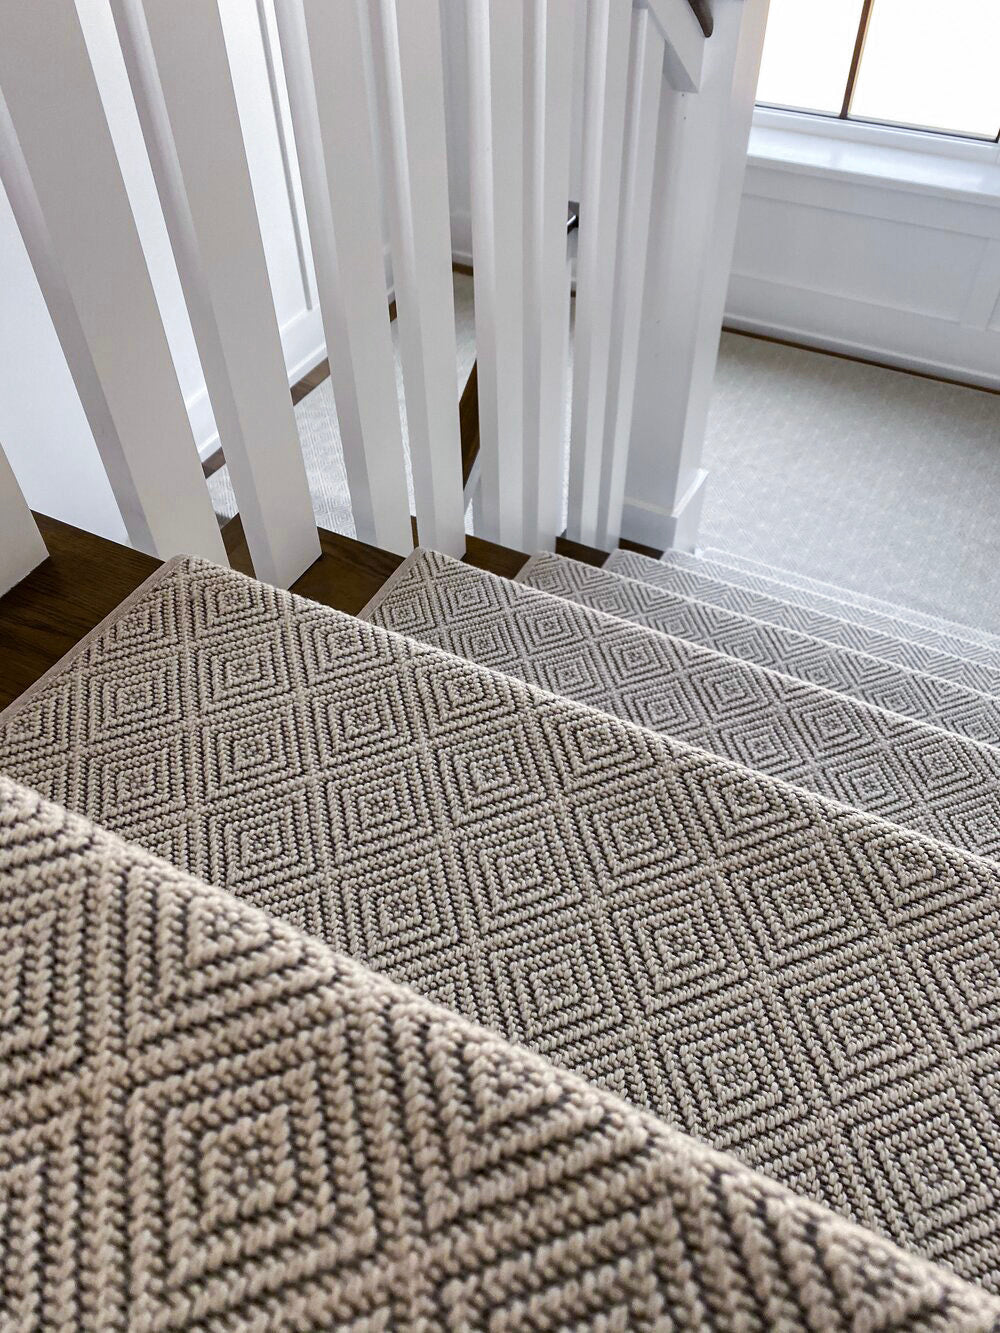
It’s also a great match for carpet stair treads, which provide soft, non-slip surfaces while keeping the edges clean and safe. Together, nosing and treads deliver a complete stair solution—one that looks polished and functions beautifully. And best of all, it can all be installed in a single afternoon.
Choosing the Right Material
Here are your top options, each with its own benefits:
Aluminum
Strong, long-lasting, and slip-resistant. Great for high-traffic areas or outdoor steps. Often comes with a textured finish for added grip.
Wood
Classic and warm. Matches hardwood stairs and can be stained or painted. Needs occasional care but adds beauty and durability.
Rubber
Soft, flexible, and very safe—especially for children or seniors. Adds strong grip and is low-maintenance. Perfect for indoor stairs that need extra comfort.
Carpet
Ideal for soft landings and a cozy look. Stair nosings for carpet are often built into carpet treads, making them easy to install and comfortable underfoot. They reduce slipping, especially when combined with a proper adhesive.
What Are the Best Adhesives?
The glue you choose matters. It needs to bond securely with your stair material and hold up over time. Here are three strong choices:
Construction Adhesive
Works well on wood, metal, and rubber. Easy to apply and dries quickly. Reliable for long-term use.
Epoxy
Best for metal, especially aluminum. Holds up in moisture and temperature changes. Ideal for outdoor or basement stairs.
Double-Sided Tape
Good for temporary fixes or low-traffic stairs. Clean, quick, and no drying time. Not as durable as glue, but great for easy installs.
Understanding Stair Nosing Dimensions
Getting the right fit is critical. Stair nosing dimensions determine how far the edge sticks out and how well it aligns with the step. Standard overhang is ¾ inch (about 19 mm).
Keep it consistent—every step should have the same overhang. Irregular nosing creates tripping hazards and makes the staircase feel unbalanced. Always measure and cut carefully to avoid mistakes.
Tools You’ll Need
You don’t need expensive equipment—just a few basics:
-
Tape measure
-
Pencil or chalk
-
Miter saw or hand saw
-
Sandpaper
-
Construction adhesive or epoxy
-
Caulk or wood filler
-
Rag for cleanup
-
Optional: drill or hammer for nails
How to Install Your Own Stair Nosing
Step 1: Measure Each Step
Stairs can vary slightly in size, especially in older homes. Measure width and depth to ensure a tight fit. Mark your cuts before you begin.
Step 2: Cut the Nosing
Use a miter saw for angled stairs or a hand saw for straight cuts. Lightly sand the edges to remove splinters. Do a dry fit before gluing.
Step 3: Prepare the Surface
Clean off dust, dirt, or old glue. Make sure the stair is dry and flat. A clean surface helps the adhesive bond properly.
Step 4: Apply the Adhesive
Apply a thin, even line of glue across the back of the nosing. Press it into place, starting at one end and pressing firmly across. Hold it in place for at least 30 seconds.
Step 5: Secure and Finish
Use nails or screws for extra support on wood stairs. Fill any gaps with caulk or filler. Clean off any extra glue and let it dry overnight.
Tips for Success
-
Dry-fit each piece before gluing.
-
Work slowly to keep things straight.
-
Don’t walk on the stairs until the glue fully dries.
-
Match nosing color to treads for a seamless look.
-
Use carpet stair treads to protect and soften each step even more.
Steps to Success
Knowing how to install your own stair nosing saves money, adds safety, and gives you a big design upgrade—all without professional help. It’s a small project that brings big results—better traction, less wear, and a staircase that feels brand new. Pair it with treads or carpets for a cozy finish that fits your family’s style and lifestyle.
Whether you’re working on a fixer-upper or freshening up your forever home, this guide has everything you need to get the job done confidently. So roll up your sleeves—you’ve got this. And Oak Valley is here to help every step of the way.
Ready to Make Your Stairs Safer and More Stylish?
Let Oak Valley Designs help you take the next step. Whether you're just browsing swatches or planning a full staircase refresh, we’re here with the comfort, style, and care you need.
-
Website: https://oakvalleydesigns.com/
-
Phone: 706.331.0315
-
Email: info@oakvalleydesigns.com
-
Address: 30 River Ct SW Bldg E Cartersville, Ga 30120


