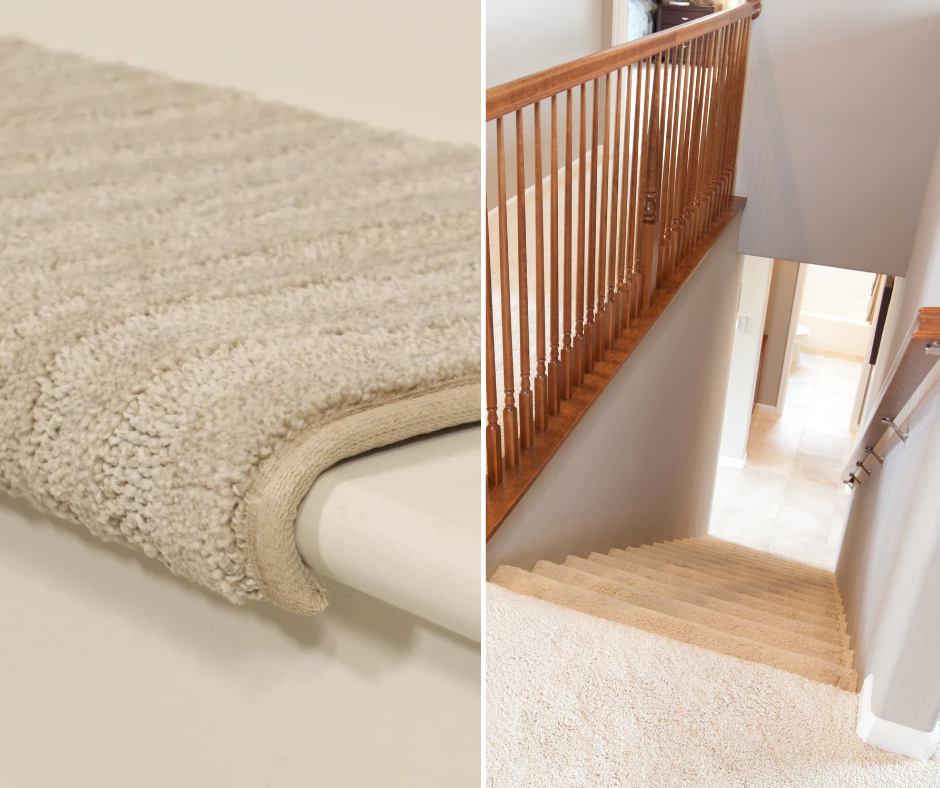
When it comes to upgrading your stairs, custom stair tread and riser installation is the perfect way to add luxury and safety to your home.
Whether you're looking for the cozy feel of carpet stair landings and treads or the durability of wood, custom options allow you to match your style and protect your stairs for years to come.
With custom sizing available, from custom stair tread rugs to custom size stair tread covers, you can create a solution that fits your home perfectly.
What Are the Benefits of Custom Stair Treads and Risers?
Choosing custom stair treads and risers means you’re getting more than just beautiful stairs.
Custom options allow you to tailor the design to fit your home’s look and feel, whether that’s rustic wood, modern carpet, or a sleek laminate finish.
They can also improve safety with better traction, making stairs safer for everyone in the family.
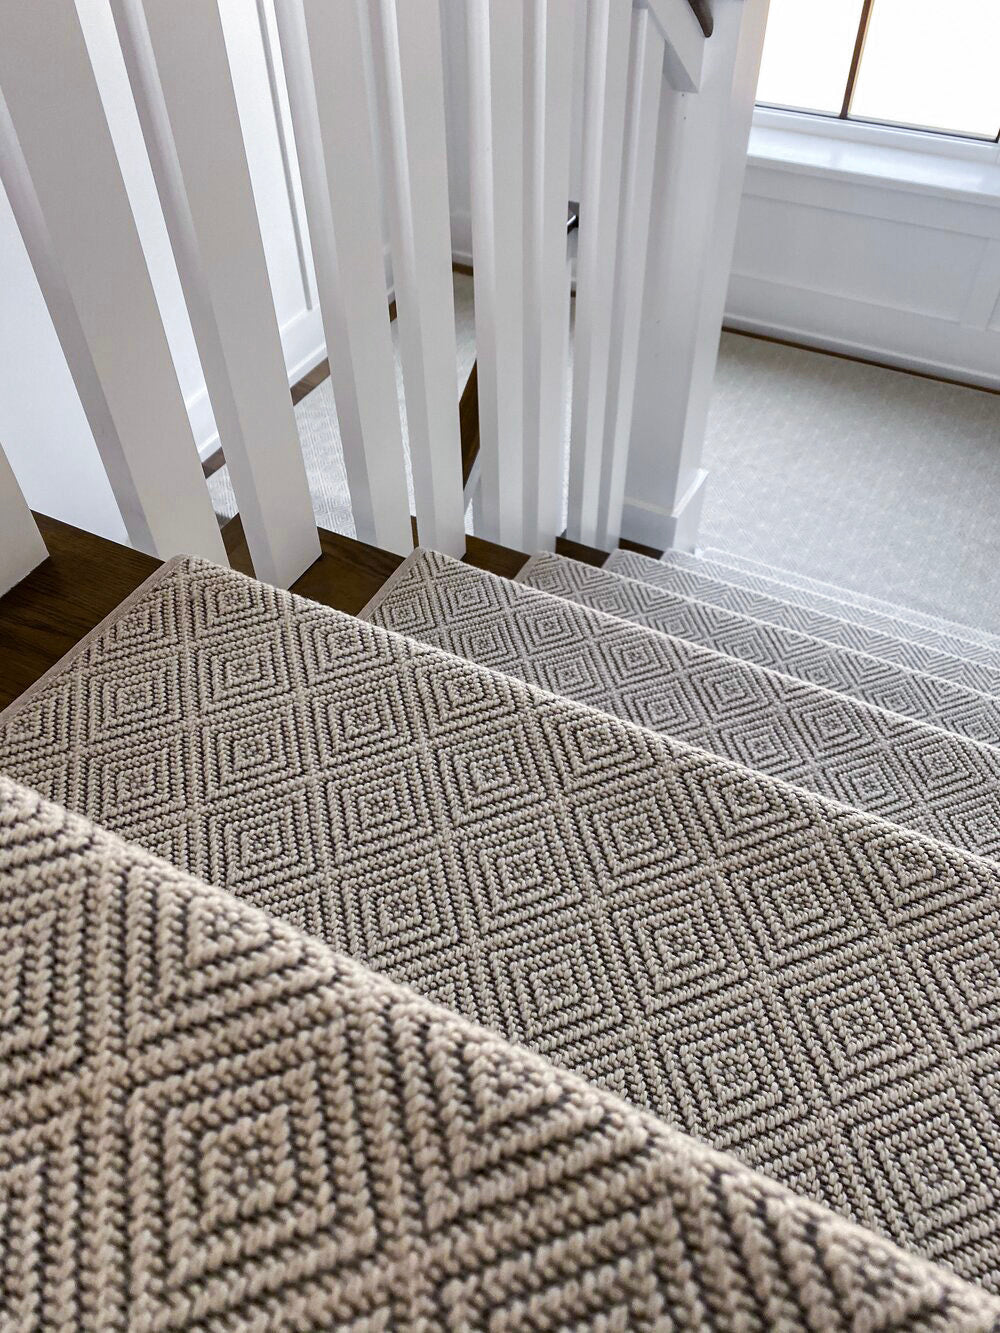
Custom options like custom stair tread rugs also provide a soft surface, ideal for homes with kids or pets.
These rugs are designed to fit perfectly over each tread, protecting your wood and adding a plush, welcoming feel.
How to Measure and Prepare for Custom Stair Tread and Riser Installation
Before diving into the installation, you’ll need to take precise measurements.
This is the most important part to get right!
You’ll want to measure the depth, width, and height of each stair to ensure your custom treads fit perfectly.
It’s best to allow for some overhang on the treads to achieve a polished finish.
Key Steps to Prepare
- Remove old treads or carpet: Clear off any old stair treads, covers, or rugs to reveal the base of the stairs.
- Inspect and clean: Take the time to clean and inspect the stairs for damage. Fix any cracks or uneven surfaces to make sure your new treads sit securely.
- Measure everything: Measure the length, depth, and height of each stair.
Custom pieces should be cut to these exact sizes, ensuring a perfect fit.
How to Install Custom Stair Treads and Risers
Installing custom stair treads and risers is a great way to elevate the appearance and safety of your staircase while adding a personal touch.
Whether you choose wood, carpet, or another material, the installation process is straightforward with the right preparation and tools.
Here’s a step-by-step guide to help you install custom stair treads and risers:
1. Measure and Cut to Fit
Before you start, take precise measurements of each stair's width, depth, and height.
Custom treads and risers should be cut to these exact measurements to ensure a perfect fit.
Allow for an overhang on the tread to achieve a polished, finished look.
Typically, stair treads extend about 1 inch past the riser.
Make sure each stair is measured individually, as slight variations can affect the final result.
2. Remove Old Stair Covers
If you have old stair treads, carpet, or risers in place, remove them before starting the installation.
This will ensure that your new custom treads and risers sit securely on the stairs.
Make sure to remove any nails, staples, or adhesive from the previous materials to get a smooth base.
3. Clean and Inspect Stairs
Once the old coverings are removed, clean the stairs thoroughly.
Inspect the underlying wood or material for any damage, such as cracks or uneven surfaces.
Repair any issues before installing the new treads and risers.
4. Apply Adhesive or Nails
Depending on the material you are using, you can either nail or glue the custom stair treads and risers in place.
For a cleaner look, construction adhesive is often used.
Apply the adhesive evenly across the back of the tread or riser, then press it firmly into place.
For added security, you can also use nails or screws to fasten the treads and risers to the stairs, making sure they’re flush with the surface.
5. Install the Risers First
Start by installing the risers (the vertical part of the stairs) before you attach the treads.
This ensures a tight, seamless fit between the riser and the overhanging tread.
6. Secure the Stair Treads
Once the risers are in place, install the custom stair treads.
Begin at the bottom of the staircase and work your way up, placing each tread carefully so that the overhang is uniform across all the steps.
Press down firmly on each tread to ensure it adheres securely, especially if using adhesive.
7. Add Finishing Touches
After all treads and risers are installed, you can add trim or molding along the edges to give your stairs a polished, professional appearance.
Can I Install Custom Stair Treads and Risers Myself?
Absolutely!
Many of our customers take on custom stair tread and riser installation as a DIY project.
It’s straightforward, especially with the right tools and instructions.
Whether you’re placing custom size stair tread covers or using adhesive to secure wooden treads, it’s important to follow the steps carefully for a long-lasting, beautiful staircase.
If you prefer the extra cushioning of custom stair tread rugs, installation is even simpler.
These are designed to fit snugly onto your stair treads and add both comfort and protection without the need for heavy-duty tools.
How Custom Stair Treads Improve Safety
One of the best things about custom stair treads is the safety they bring to your home.
By choosing materials that offer better grip, like carpet or textured wood, you reduce the risk of slips and falls.
Custom-sized options also help every step feel even and secure.
For families with kids or older adults, adding custom stair tread rugs can provide the extra traction needed to prevent accidents.
Steps to Success
Upgrading your stairs with custom stair treads and risers is a simple way to elevate both the style and safety of your home.
From measuring and selecting materials to installation, these steps will guide you through creating a staircase that looks and feels luxurious.
Whether you prefer custom stair tread rugs for extra comfort or custom size stair tread covers for protection, this project will add value and elegance to your space for years to come.


