

how to measure your stairs for a carpet runner
About This Guide
Ready to transform your staircase with beautiful, custom-fit carpet treads? This empowering DIY guide will walk you through each step of accurately measuring every individual tread on your straight staircase. We'll show you why measuring each step separately is key – especially in older homes – to guarantee a flawless, custom fit that brings safety, style, and peace of mind to your home. Get ready for a better way to tread!
Tools & Materials
Steps
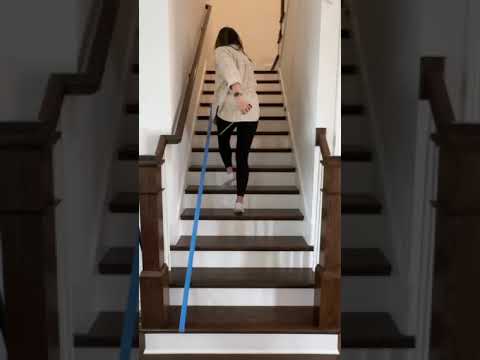
Your DIY Journey Begins: Count Your Treads and Gather Your Toolkit
Every successful DIY project starts with the right preparation! First, take a moment to count the number of treads on your straight staircase. (A little pro tip: you'll always have one more riser than treads!) Once you've got your count, it's time to gather your essential toolkit. For precision and professional-looking results, you'll want a rigid tape measure for truly accurate readings, a carpenter's square to keep your lines perfectly straight, a level to ensure everything is spot-on, masking tape for clear markings, and a trusty pencil for noting down those crucial measurements. Having these ready will make your measuring process smooth and stress-free.
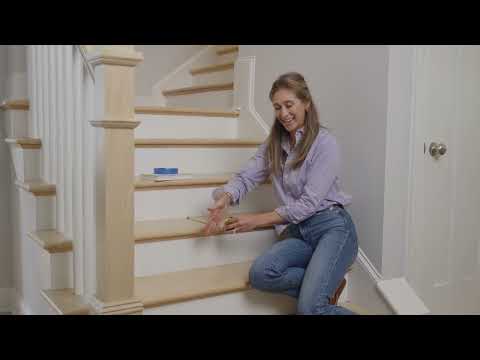
Precision Depth: Measuring Each Tread from Back to Nosing
Now for the crucial part: measuring the depth of each individual tread. Start by positioning your rigid tape measure snugly against the vertical riser at the very back of the step. Then, extend that tape measure all the way over the front rounded edge – that's what we call the 'nosing.' For truly precise results, it’s absolutely crucial to keep your tape measure flat and perfectly level across the entire tread. A vital safety and quality tip: *never* measure over any existing flooring, old carpet, or adhesive residue. These can throw off your measurements and compromise the perfect fit you're aiming for. Once measured, carefully record the depth for each step. This attention to detail is what makes The Oak Valley Difference!
Getting the Width Right: From Wall-to-Wall or Edge-to-Edge
Now, let's tackle the width! For each tread, carefully run your tape measure across the front edge. This is key: always ensure your tape is perfectly parallel to the back edge of the tread where it meets the riser. If your beautiful stairs are nestled between two walls, measure straight from wall to wall. If one side of your staircase is open, measure precisely from the outer edge of the tread to the inner edge. For that polished, custom-fit aesthetic – the kind that truly elevates your staircase – a common practice for residential treads is to leave about a 1-inch space on each side. So, for example, a 36-inch wide stair would beautifully accommodate a 34-inch wide tread, giving you that clean, bordered look that says 'quality and care.'
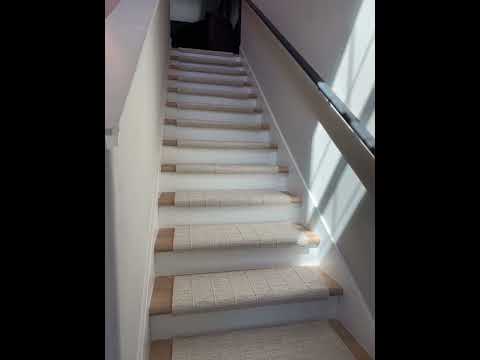
Your Blueprint for Success: Record, Label, and Double-Check
Now that you've done the careful measuring, it's time to create your detailed record. In your notebook, clearly write down the measured width and depth for each and every step. This is where attention to detail truly pays off! If you discover that some steps have different measurements – a common and charming characteristic, especially in older homes – make sure to number those unique steps accordingly. A simple trick for clarity: use masking tape and a marker to label each step right on the staircase with its corresponding number if its dimensions are unique. We always recommend our 'measure twice, cut once' philosophy: measure each step twice to ensure absolute accuracy before you commit those final numbers to paper. For your custom-made treads, taking a quick photo of each step, particularly those with significant variations, can be incredibly helpful for our team to ensure your treads are custom-made to fit perfectly. This detailed approach ensures you get the perfect fit, proudly made in the USA with heart, comfort, and care.
Questions about your project or which product fits? Oak Valley Designs's team is happy to help. Mon–Fri 9–5 ET

Subscribe for exclusive updates
Be the first to know about promotions, new products, and sales.