Address Additional Squeaky Spots
From Squeaky Stair Repair · Step 3 of 7 · Video by DIY HomeOwner Hero
Showing 6:48–10:07 of the source video.
What happens in this clip
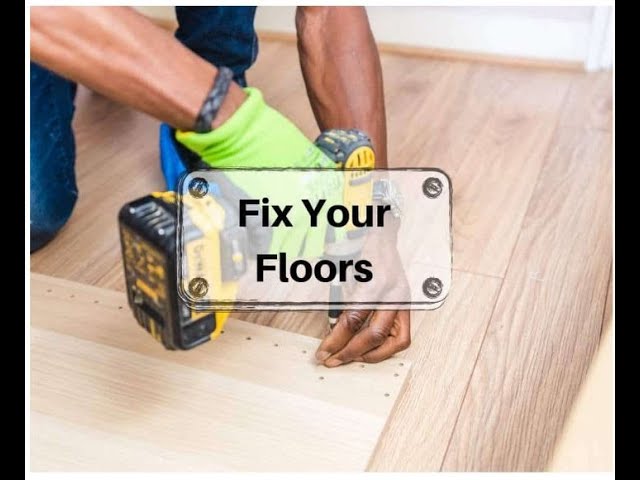
Repeat steps 2, 3, and 4 for any additional squeaky spots on the floor. For areas with multiple adjacent squeaks, it's recommended to space out the screws to avoid having too many in a small area. The presenter notes that even if a large area is squeaky, strategically placed screws (e.g., one on one board, another on an adjacent board) can effectively resolve the issue without creating an unsightly cluster of filled holes. Test the floor again after each screw is installed.
Goal: Eliminate all remaining squeaks across the floor.
What's used
Tools
- 1/8-inch Drill Bit
- Cordless Drill Ryobi
- DAP Plastic Wood All Purpose Wood Filler (Walnut) DAP
- Driver Bit Squeeeek No More
- Hardwood Floor Adapter Squeeeek No More
- Screws (with score lines) Squeeeek No More
About the full video
This DIY project demonstrates how to quickly and permanently eliminate squeaks in hardwood floors using a specialized 'Squeeeek No More' kit. The process involves identifying squeaky spots, pre-drilling pilot holes, driving breakaway screws through a specialized fixture until their heads snap off below the surface, and then filling the holes with wood filler to blend with the floor. The technique is shown for both individual and multiple adjacent squeaks.
Step 3 of 7: Tighten Fasteners
Locate any screws or nails in the vicinity of the squeak. Use a screwdriver to tighten loose screws. If nails are present, carefully pry them out using a nail set and hammer, then drive in wood screws. Ensure screws are countersunk slightly below the wood surface.
Other videos for this step
Squeaky Stair Repair
This project addresses the common issue of squeaky stairs by identifying the source of the noise and applying targeted fixes to eliminate it. The process involves a systematic approach to diagnose the cause, which can range from loose treads or risers to friction between wood components, and then implementing appropriate solutions such as tightening fasteners, shimming gaps, or applying lubricants.
Read the full guide Browse all guides
Planning this project? Shop Oak Valley Designs.