Install Horizontal Board
From Board and Batten Wainscoting Installation · Step 2 of 6 · Video by Would Wood Work
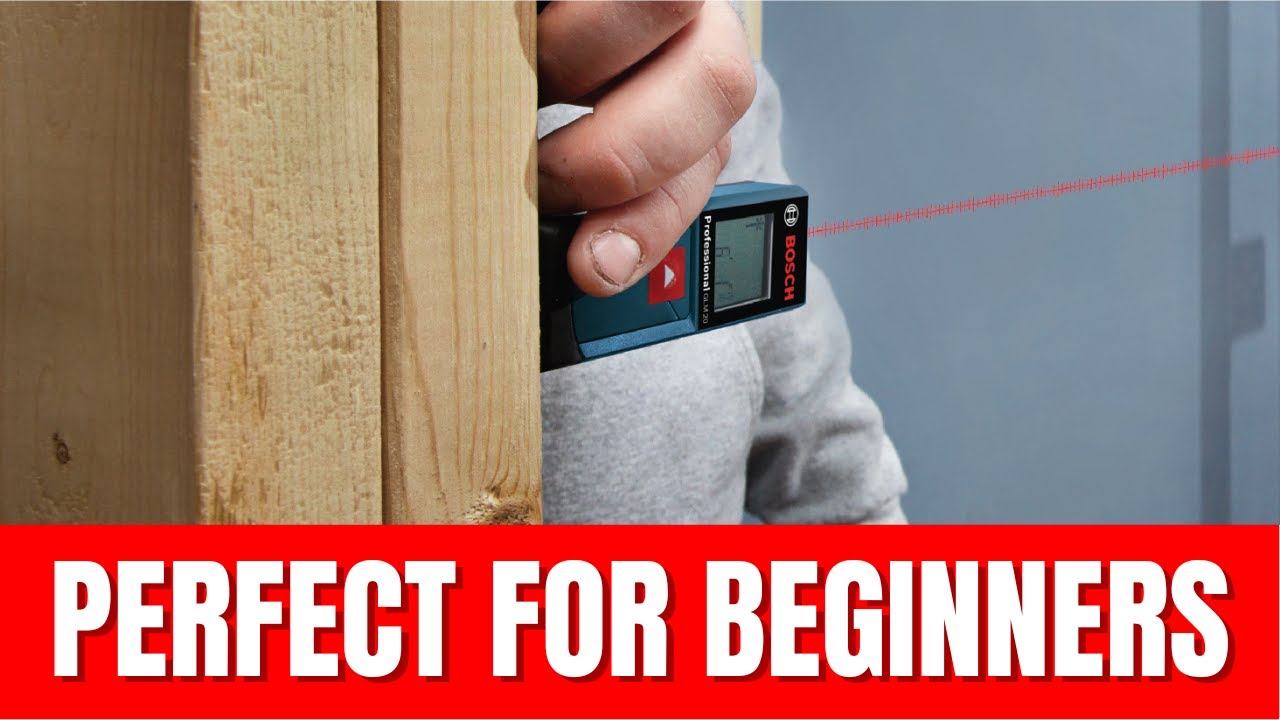
Showing 2:25–2:34 of the source video.
What happens in this clip
Once the board is precisely cut, it is installed against the wall directly underneath the existing wooden handrail. The user highlights how the board fits flush, demonstrating the accuracy achieved through careful measurement and cutting. This particular piece represents a horizontal trim element of the board and batten accent wall, perfectly integrated into the staircase's structure.
Goal: Securely place the cut board on the wall for the accent feature
What's used
Tools
- Nail Gun Craftsman
- Drill and screws
Materials
- Board Material (gray)
- Finish Nails
- Construction adhesive
- Wood screws
About the full video
This project demonstrates how to accurately measure, cut, and install boards for a board and batten accent wall along a staircase, highlighting the efficiency and precision of a laser measuring tool for single-person operation. The video walks through using the laser measure, preparing and cutting the material with a miter saw, and showcases the completed installation.
Step 2 of 6: Install the Top Board (or Cap Rail)
Cut your chosen top board material (e.g., 1x4 or 1x6 pine) to the lengths needed for each section of the staircase wall, accounting for any corner returns. Position the top board so its bottom edge aligns precisely with the level line marked in the previous step. Secure the board to the wall studs using finishing nails or screws. Ensure the board is flush against the wall and level before fastening. If using a thicker profile for the top board, consider pre-drilling pilot holes to prevent splitting.
Other videos for this step
Board and Batten Wainscoting Installation
This project outlines the steps for installing board and batten wainscoting on a staircase wall. It includes measuring, cutting materials, attaching the boards, and applying battens. The process will enhance the aesthetic appeal of the wall and provide a durable finish.
Read the full guide Browse all guides
Planning this project? Shop Oak Valley Designs.